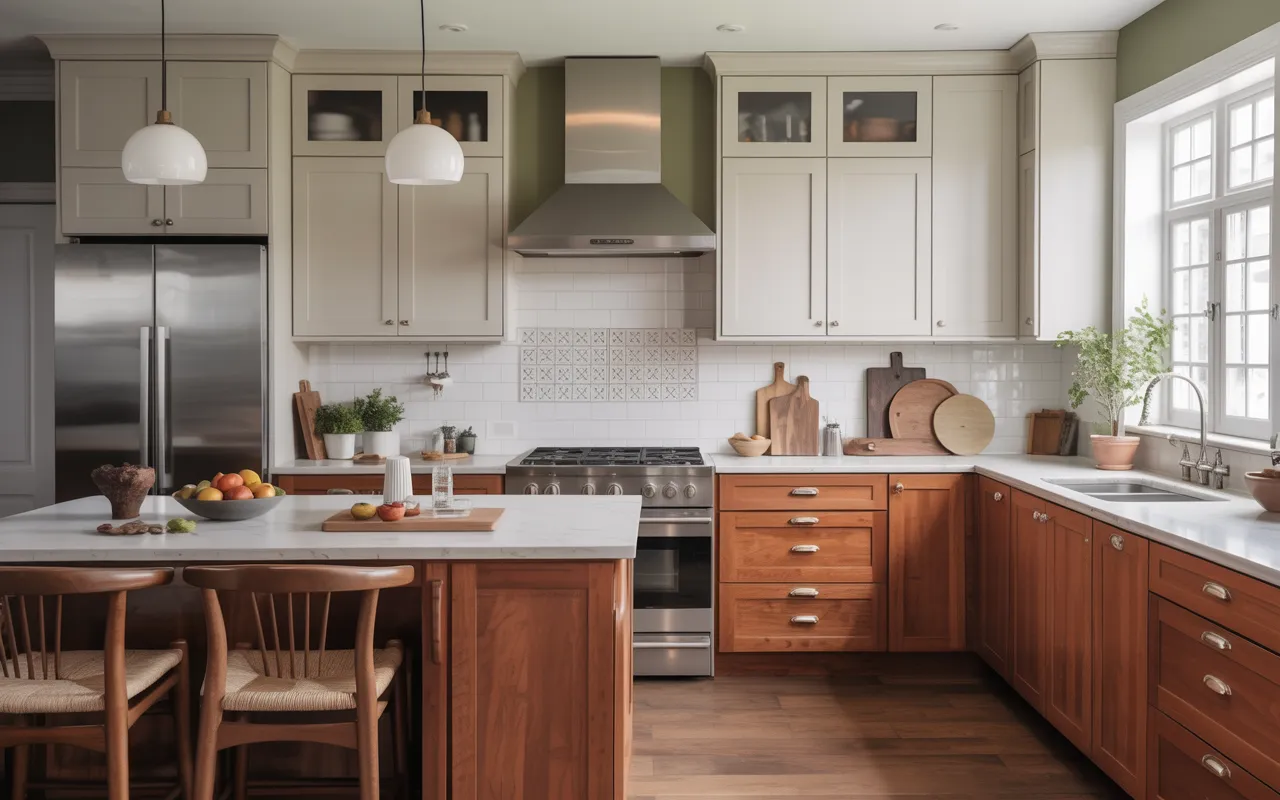
22 Cherry Kitchen Cabinets Ideas That Look Rich
Cherry cabinets have a richness that few other woods can match. When they are styled well, the whole kitchen glows. When they are not, the room can feel dark and dated. These 22 ideas will help you get the good version.
Every idea here works with the natural warmth of cherry instead of fighting it. Some are weekend projects, like swapping hardware or adding under-cabinet lights. Others are bigger moves, like a contrasting island or new countertops. Pick the ones that fit your budget and your timeline.
I focused on practical changes with real products you can order today. Each idea includes specific steps and three shoppable picks to get you started. Your cherry kitchen is closer to looking expensive than you think.
This post contains affiliate links. If you buy through them, I may earn a small commission at no extra cost to you.
1. Classic Cherry Cabinets with Crown Molding
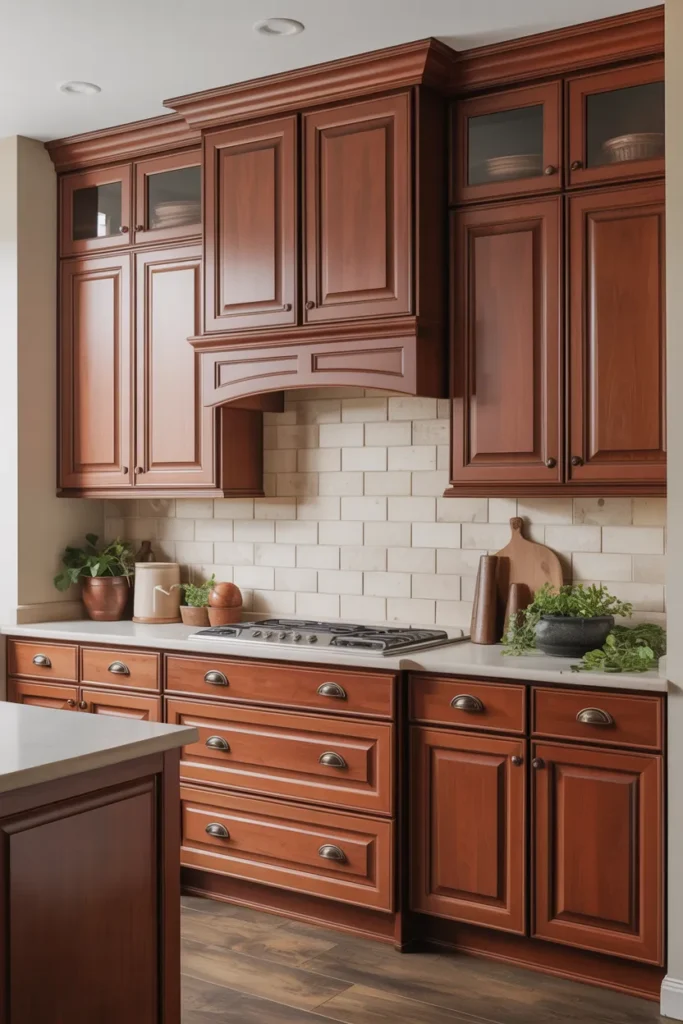
Cherry cabinets already have a deep, warm color that reads as expensive when you treat them right. Crown molding is one of the simplest upgrades you can make. It fills the gap between the top of your cabinets and the ceiling, and the whole kitchen suddenly looks custom.
Pick the right profile: Not all crown molding works with cherry. A simple three-step profile in a matching stain blends in and looks built-in. If your kitchen leans traditional, a dentil or rope detail adds character without looking busy. Measure the ceiling gap first, since most stock moldings cover three to five inches.
Finish it to match: Take a cabinet door to the paint store and have them match the stain as close as possible. A gel stain pen in a cherry tone works for small touch-ups on seams and nail holes. Sand the joints lightly before staining so the color takes evenly. The result should look like the cabinets and the ceiling were always one piece.
- Close the dead space above the cabinets so dust has nowhere to collect.
- Use paintable wood filler on nail holes before staining for a clean seam.
- Caulk the top edge where the molding meets the ceiling to hide small gaps.
Shop This Look
2. Cherry Cabinets with Two-Tone Accents
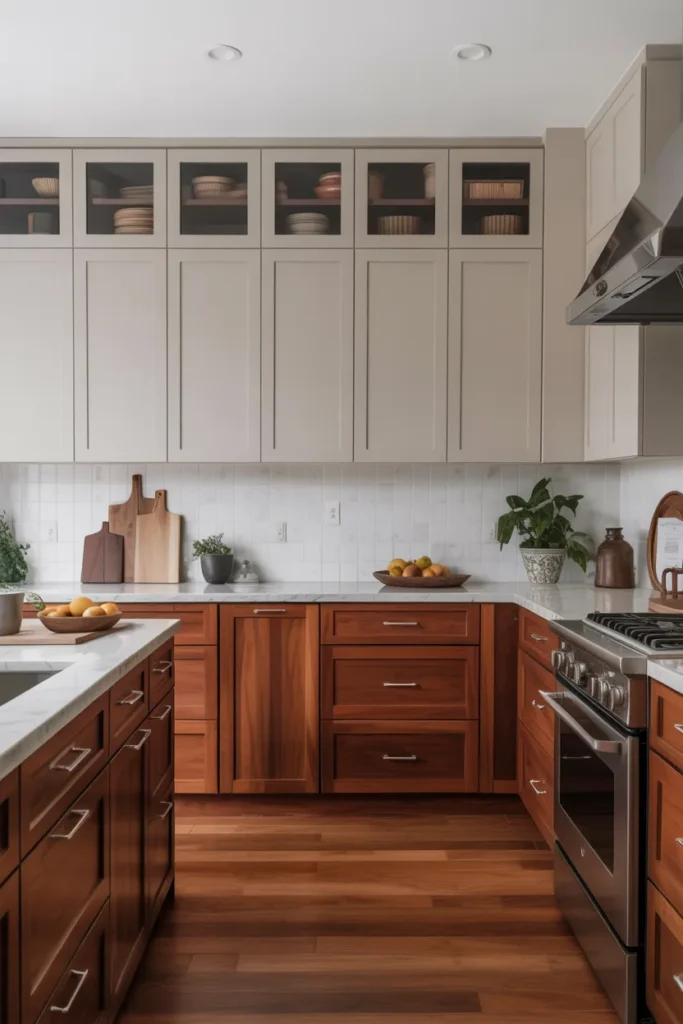
Two-tone kitchens keep cherry from feeling heavy. Pairing warm cherry lowers with a lighter color up top opens up the room. The contrast makes both tones look intentional instead of random.
Choose your second color: Creamy whites, soft grays, and pale sage all sit well next to cherry. White uppers with cherry lowers is the classic combo for a reason. It works in small kitchens because the light color on top lifts the ceiling line. Keep the hardware the same on both sets so the kitchen still feels like one room.
Balance the split: A good rule is to keep cherry on the lower two-thirds and the lighter tone on top. If you have an island, paint it the lighter color too so the cherry does not dominate. Repeat the accent color somewhere small, like the pantry door or a bar stool. That repetition ties the whole scheme together.
- Test the lighter color on a board next to the cherry before you commit.
- Keep floors neutral when mixing two cabinet colors.
- Use the same hardware finish on both tones for a unified look.
Shop This Look
3. Cherry Cabinets with Glass Inserts
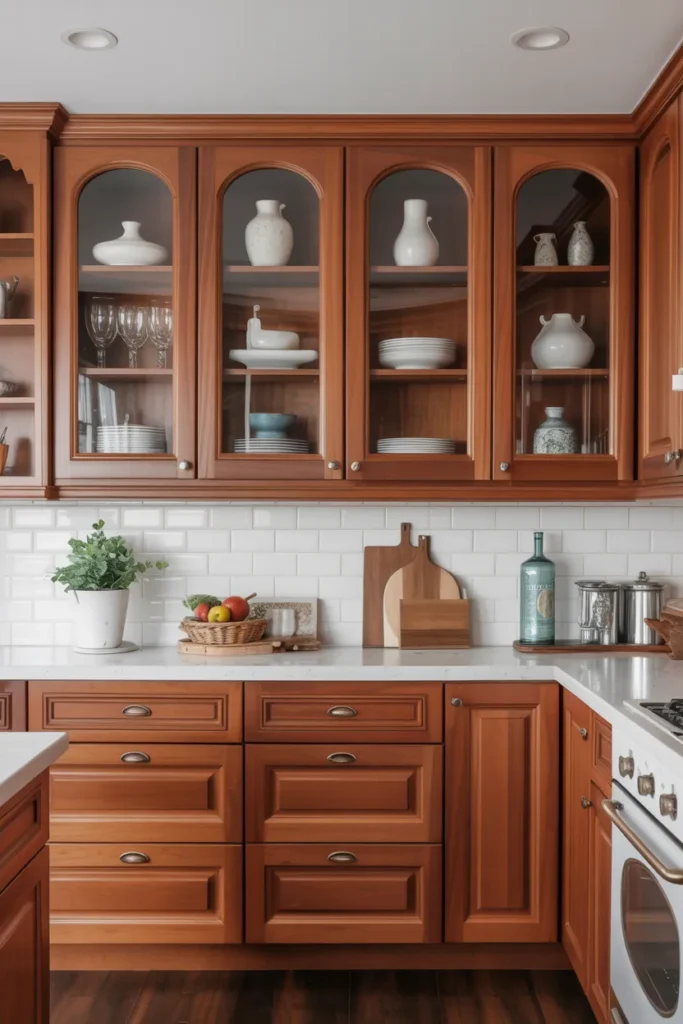
Glass inserts break up long runs of solid cherry doors. They let you show off pretty dishes and they make the kitchen feel lighter. You do not need to replace the whole door, just the center panel.
Pick a glass style: Seeded glass hides clutter and adds a vintage texture that suits cherry well. Clear glass works if your shelves are styled and tidy. Frosted or reeded glass is the safe middle ground: light gets through, but the mess stays hidden. Mullion grids (the small dividers) lean traditional, while a single clean pane leans modern.
Style what is inside: Group dishes by color so the cabinet reads as one calm band, not a jumble. White dishes always look sharp behind glass. Add one small stack of bowls per shelf and leave some breathing room. If the shelf looks crowded from the couch, take something out.
- Convert just two or three doors first to test the look before doing them all.
- Add felt pads where the glass meets the frame so nothing rattles.
- Keep one shelf per cabinet mostly empty so the display breathes.
Shop This Look
4. Cherry Cabinets with Open Shelving
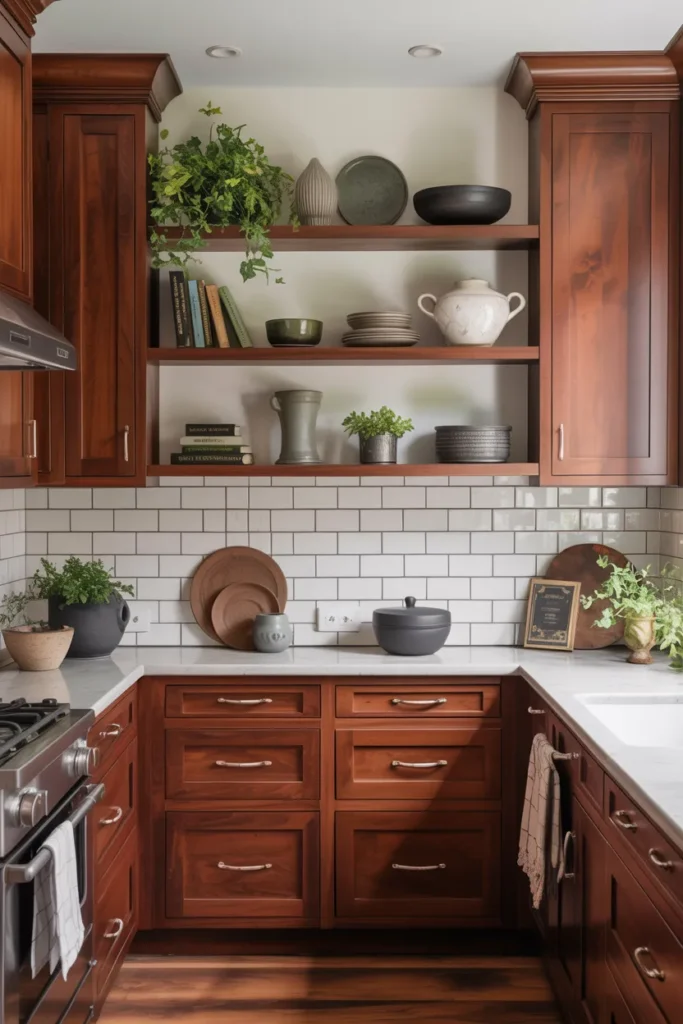
Open shelving next to cherry cabinets keeps the wood from closing in the room. A couple of open shelves give you a place for daily dishes and cookbooks. The mix of closed and open storage looks current without a full remodel.
Place them with purpose: The best spots are beside the range hood, next to a window, or at the end of a cabinet run. Two floating shelves usually do the job. Keep them at the same height as the top of your wall cabinets so the line stays calm. Make sure the shelf wood or stain tone plays nicely with the cherry instead of fighting it.
Edit what you display: Open shelves need editing, not just stacking. Keep daily-use items on the lower shelf where you can grab them. Put the pretty, rarely used pieces up top. If a shelf starts collecting random clutter, that is your sign to pare it back to a few favorites.
- Anchor shelves into studs, not just drywall, since dishes are heavy.
- Leave 15 inches of clearance above the counter for usable space.
- Dust open shelves weekly so grease does not build up.
Shop This Look
5. Cherry Cabinets with Contrasting Countertops
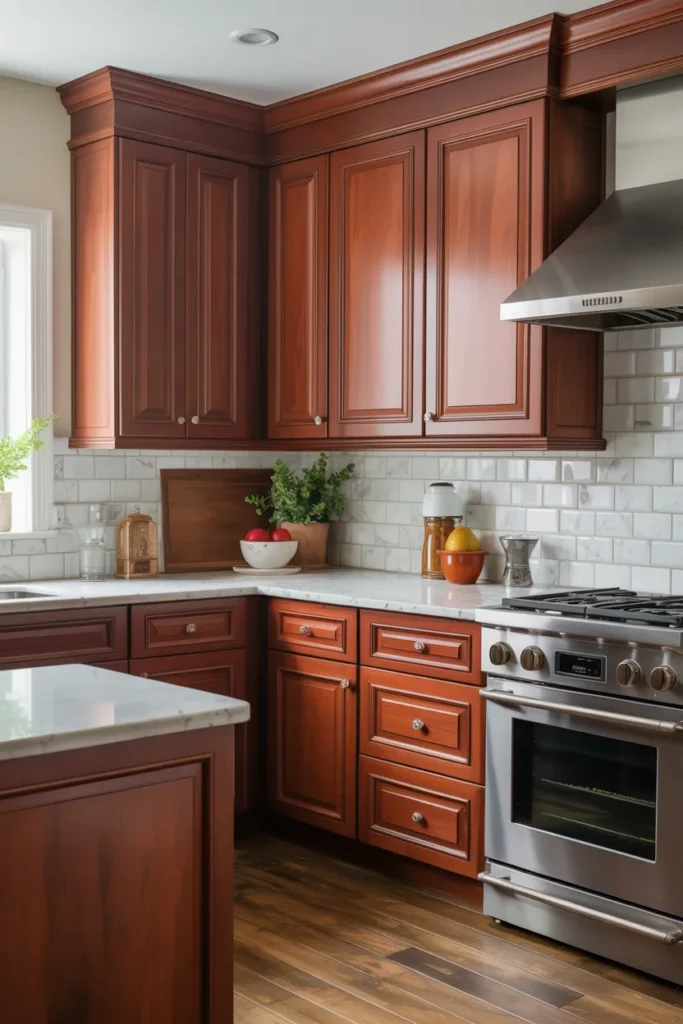
Countertops set the mood for cherry cabinets more than almost anything else. A light counter keeps the deep wood from feeling dark. A dark counter can work too, but it needs good lighting to pull it off.
Go light for contrast: White quartz, light granite, and butcher block all brighten cherry cabinets. Quartz is the low-maintenance pick since it never needs sealing. Butcher block adds warmth and you can sand out knife marks. Honed finishes hide fingerprints better than polished ones in a busy kitchen.
Mind the undertones: Hold your countertop sample right against the cabinet in daylight. Warm counters (creams, warm grays) suit cherry best. Cool blue-grays can clash with the red tones in the wood. When in doubt, bring home three samples and live with them for a weekend.
- Request full-size samples, not tiny chips, to judge the real look.
- Seal natural stone counters once a year to prevent stains.
- Match the sink style to the counter material for a cleaner install.
Shop This Look
6. Cherry Cabinets with Island Contrast
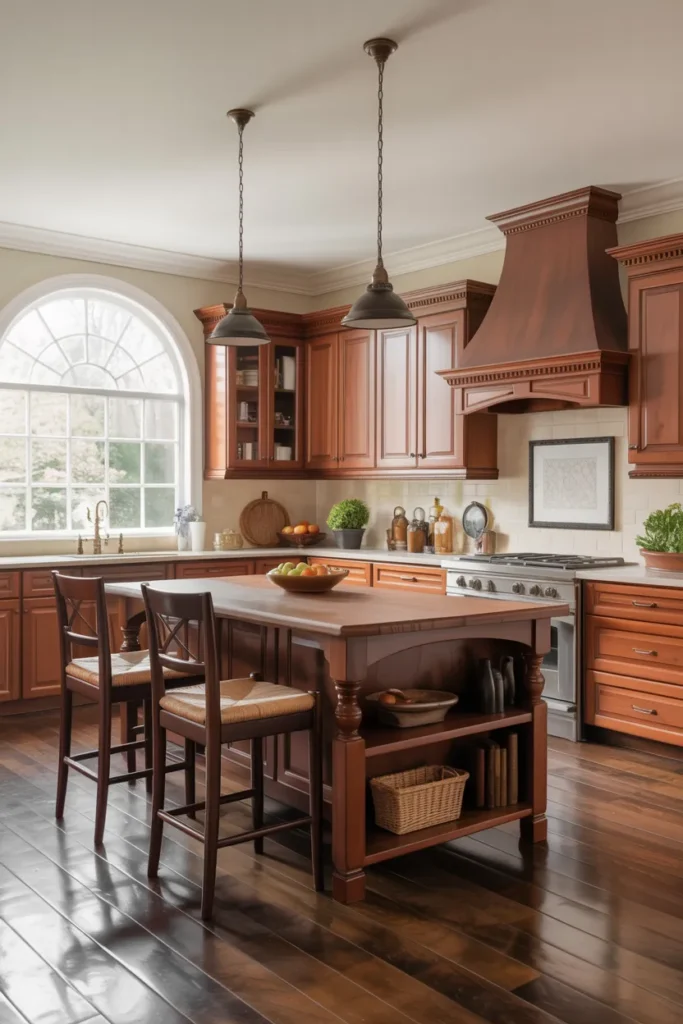
An island in a different finish stops cherry from taking over the kitchen. Painted islands are the easy version of the two-tone look. You get contrast in one move, and it costs far less than replacing cabinets.
Pick an island color that works: Navy, deep green, and charcoal all pair well with cherry. These dark shades ground the room and make the wood glow by comparison. If dark feels like too much, a warm white or greige island still gives you the contrast. Pick up the island color in the bar stools or the pendant cords to make it feel planned.
Use the island as a feature: This is the spot for your boldest choice in the kitchen. Waterfall countertops, corbels, or furniture-style feet all look great on a painted island. Add pendant lights above it and you have a natural gathering point. Keep the cherry perimeter cabinets simple so the island stays the star.
- Prime bare wood islands before painting for a finish that lasts.
- Use cabinet-grade enamel paint so the finish resists chips.
- Match the island toe kick to the island color for a built-in look.
Shop This Look
7. Cherry Cabinets with Under-Cabinet Lighting
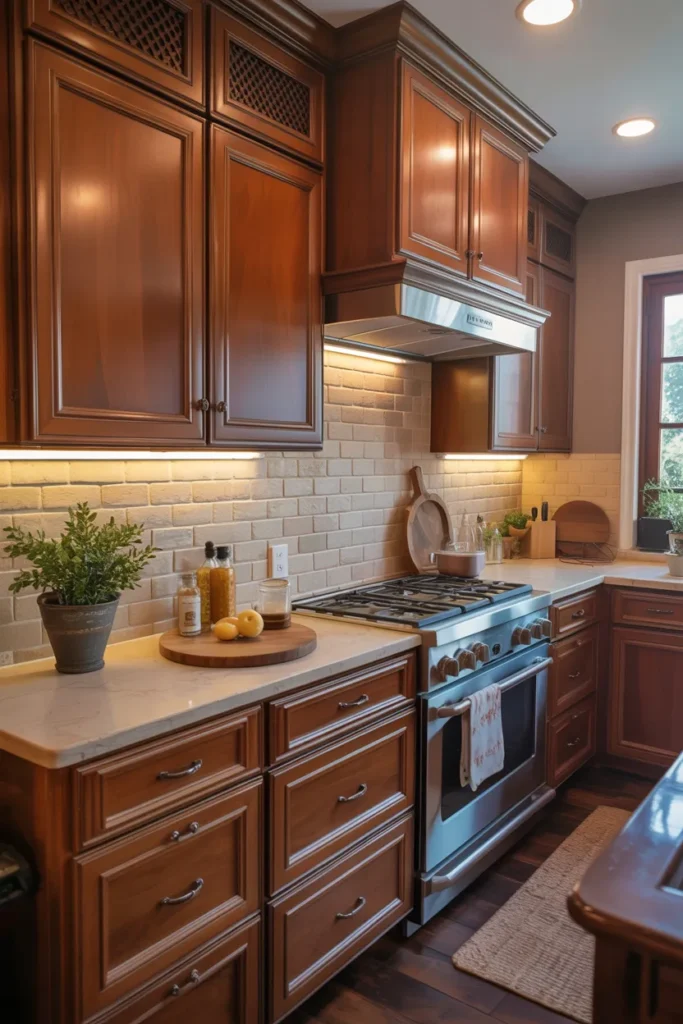
Under-cabinet lighting changes how cherry cabinets look after dark. Without it, the wood can read almost black in the evening. With it, the grain glows and the counters become usable work space.
Choose your light type: LED strip lights give the most even wash with no hot spots. Puck lights are easier to install but leave circles of light. Pick a warm white temperature (2700K to 3000K) so the cherry keeps its warm tone. Cool white light will make cherry look gray and flat, which you do not want.
Install them right: Mount the strips toward the front of the cabinet so the light washes down the backsplash and across the counter. Hide the driver in a cabinet so you never see the hardware. A plug-in kit with a remote is the renter-friendly route. Hardwired versions look cleaner if you own the place.
- Measure each cabinet run before ordering so you get the right lengths.
- Add a dimmer switch so you can set the mood for evening.
- Keep light strips 1 to 2 inches from the front edge for best coverage.
Shop This Look
8. Cherry Cabinets with Minimalist Hardware
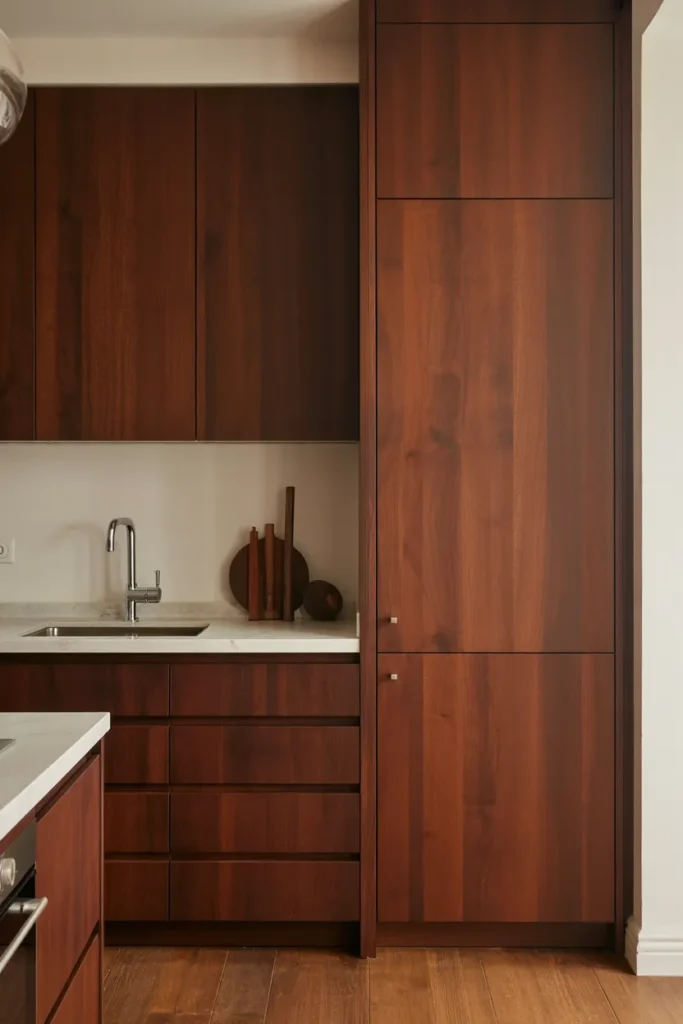
Hardware is jewelry for cabinets, and cherry takes to simple hardware best. Big ornate pulls can fight with the busy grain. Clean, minimal pieces let the wood do the talking.
Go simple and warm: Slim bar pulls, simple knobs, and cup pulls all suit cherry. Brushed brass and matte black are the two finishes that work most reliably. Brass warms the red tones in the wood. Black gives you a crisp modern edge. Keep every piece in the same finish so nothing looks like an afterthought.
Get the sizing right: Pulls should span about a third of the drawer width. Small knobs get lost on wide drawers, and oversized pulls overwhelm small doors. If you are replacing old hardware, measure the existing hole spacing so you do not have to drill new holes. A template makes installing a full kitchen of pulls much faster.
- Order one sample pull first to check the finish against your cabinets.
- Replace hinge finishes to match if the old ones are visible.
- Tighten screws once a year since daily use loosens them.
Shop This Look
9. Cherry Cabinets with Layered Textures
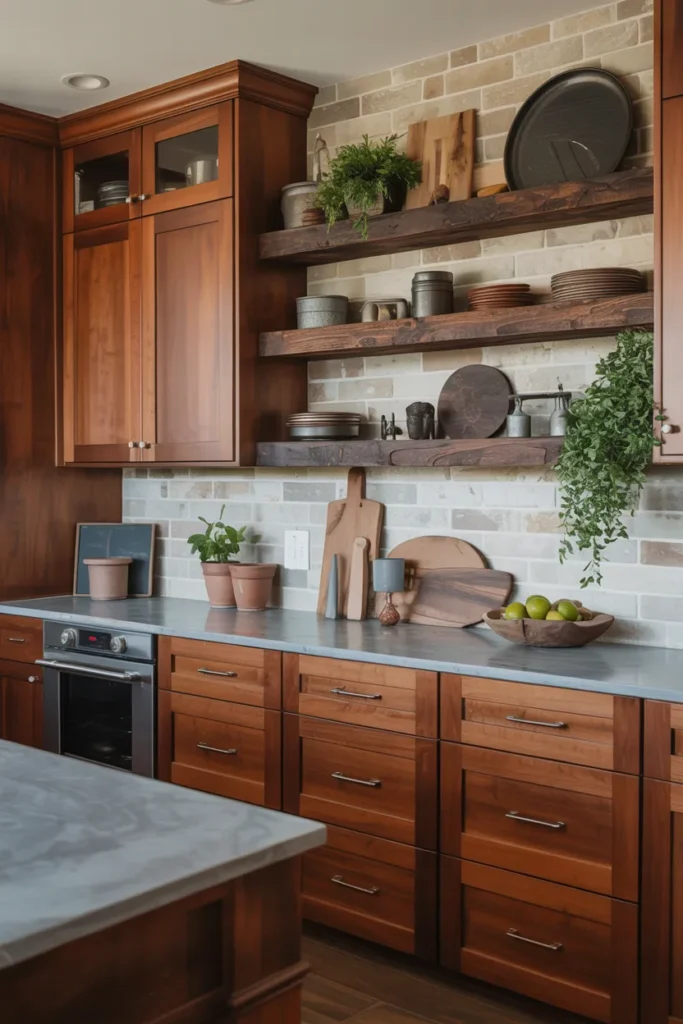
Cherry cabinets look best when the textures around them do some work. All-smooth surfaces can make the wood look flat. Mixing in stone, linen, and woven materials gives the eye somewhere to rest.
Layer three textures: Start with your counters, then add a textured backsplash like handmade-look tile. Soften the room with fabric: a runner rug, linen curtains, or woven seat cushions. Wood cutting boards leaning on the backsplash add one more natural layer. The goal is variety, not clutter, so keep the colors close together.
Keep it practical: Kitchens are work rooms, so every texture should earn its place. Rugs need to be washable. Curtains should sit clear of the range. Open wood boards double as serving pieces, so they are decoration and tools at once. If a texture makes cleaning harder, save it for the dining area instead.
- Choose washable rugs rated for kitchen use near the sink and stove.
- Group wood boards in odd numbers for a styled but natural look.
- Swap textiles seasonally to refresh the room without spending much.
Shop This Look
10. Cherry Cabinets with Decorative Trim
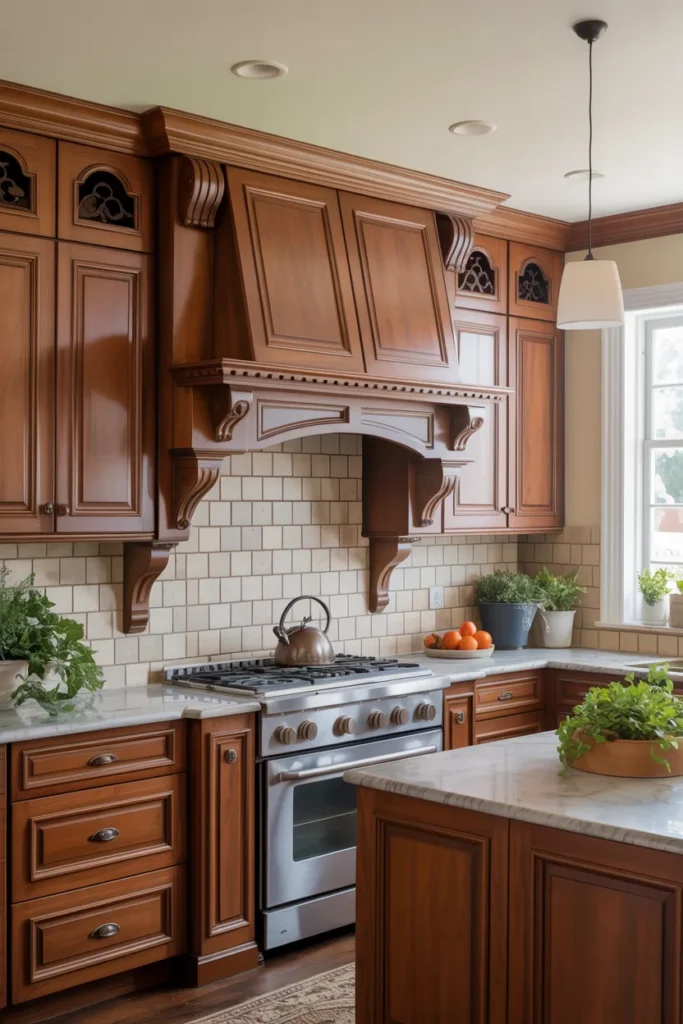
Decorative trim takes plain cherry cabinets a step toward custom. Applied molding on flat door fronts adds depth and shadow. It is a classic trick for making stock cabinets look like they cost twice as much.
Pick a trim style: Thin picture-frame molding suits shaker-style doors. A small bead detail reads more traditional. Keep the trim the same stain as the door so it looks original to the cabinet. Measure twice and cut the pieces as a set so every door matches. A miter box keeps the corners clean.
Attach and finish carefully: Wood glue plus a pin nailer gives you a bond that holds and holes that disappear. Fill the nail holes with stainable filler and touch up with a stain pen. If the trim sits slightly proud of the door, sand the edges so the transition feels smooth. Step back often to check the whole run, not just one door.
- Cut all trim pieces for one door at once to keep sizes identical.
- Dry-fit the molding before gluing so you can adjust the fit.
- Seal raw edges with stain before installing to avoid light spots.
Shop This Look
11. Cherry Cabinets with Built-In Wine Racks
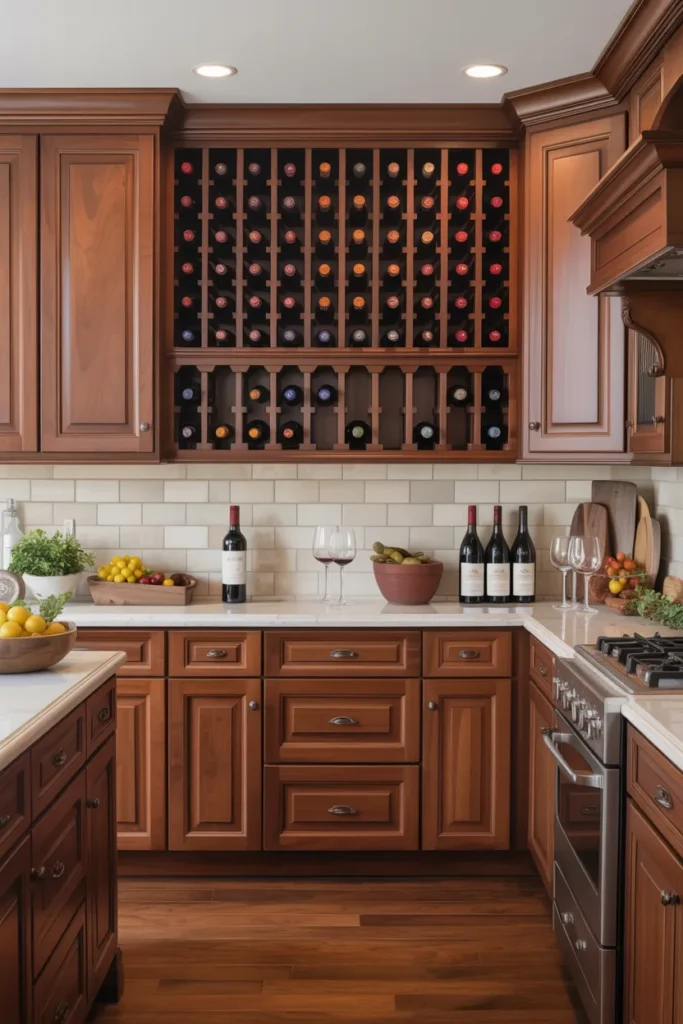
Built-in wine racks turn a dead cabinet space into something useful. Cherry and wine storage just make sense together. A rack near the dining side of the kitchen keeps bottles handy for dinner.
Choose the rack format: Diagonal bottle racks fit inside a standard base cabinet. Vertical dividers work in tall narrow cabinets. If you only drink wine occasionally, a small six-bottle insert is plenty. Serious collectors should look at a full-height rack with proper bottle spacing. Measure your bottle diameter first, since oversized bottles need wider slots.
Place it with care: Keep wine away from the oven and the dishwasher, since heat and vibration are bad for bottles. A cabinet near the fridge or the dining room is ideal. Store bottles on their sides so the corks stay moist. If the cabinet gets warm, a small battery fan can help circulate air.
- Store bottles horizontally to keep corks from drying out.
- Keep the rack away from heat sources like ovens.
- Label the rack slots if you stock multiple varietals.
Shop This Look
12. Cherry Cabinets with Soft-Close Drawers
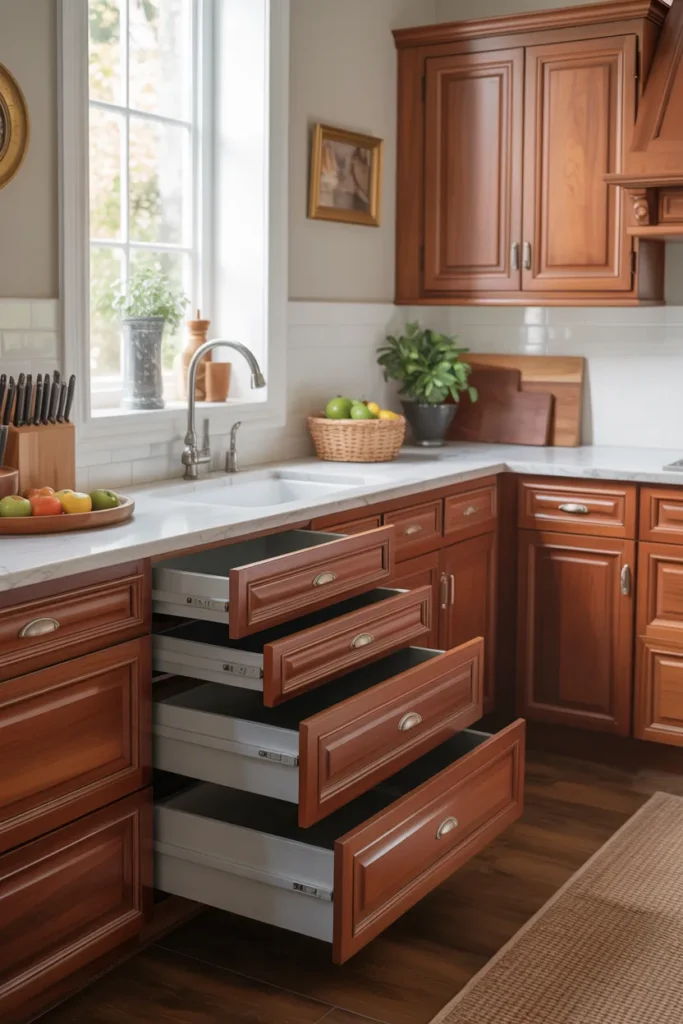
Soft-close drawers are a small luxury you notice every single day. No more slammed drawers, no more pinched fingers. The hardware is cheap and the upgrade is one of the highest-impact fixes in any kitchen.
Pick the right hardware: Soft-close adapters clip onto most existing drawer slides and cost just a few dollars each. Full replacement soft-close slides feel smoother and last longer. Check your drawer slide type (side mount or undermount) before ordering. Undermount slides usually need the exact brand match, while side-mount versions are more forgiving.
Install in an afternoon: You only need a screwdriver and a bit of patience. Do one drawer first to learn the steps, then work through the rest. Adjust the tension screws until the drawer glides shut without a bounce. Clean the slides while you have the drawers out, since grit is what wears them down.
- Count your drawers first and order a few extra adapters.
- Clean old slides with a dry cloth before installing new hardware.
- Adjust the soft-close tension so drawers shut fully on their own.
Shop This Look
13. Cherry Cabinets with Open Corner Units
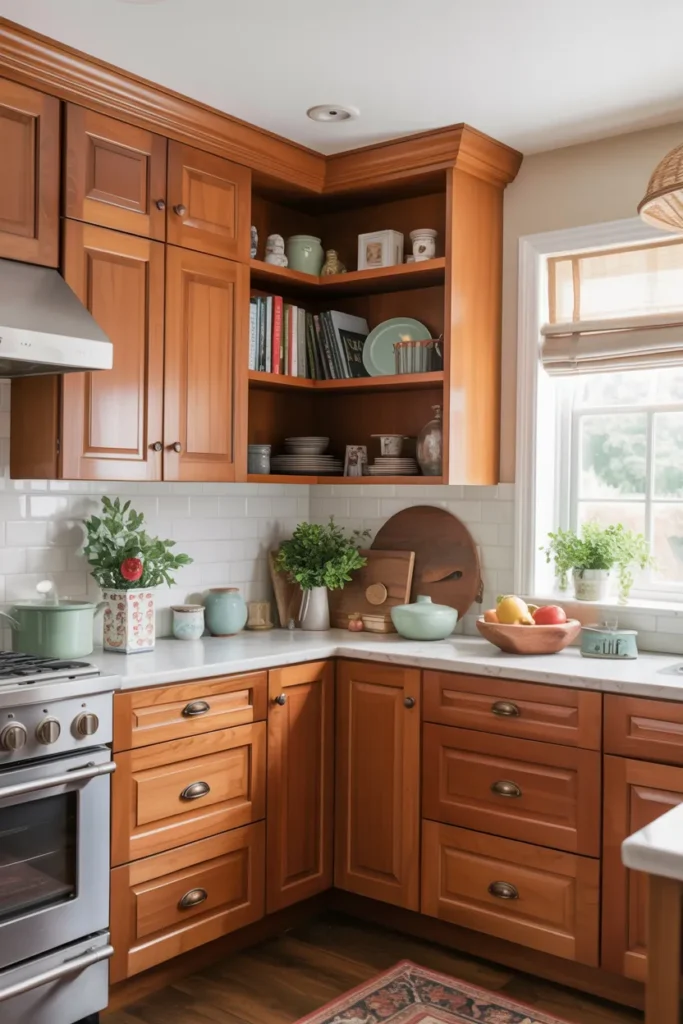
Corner cabinets are where kitchen storage goes to die. Open corner units fix that by giving you a display spot instead of a dark cave. They also break up long cherry runs with a lighter moment.
Decide on open or glass: Fully open corner shelves are the simplest version. Glass-door corner cabinets keep dust out while still showing your dishes. A diagonal corner unit reads traditional, while a square open corner reads modern. Whatever you choose, light it: corners go dark fast, and one small puck light makes the whole thing work.
Style it lightly: Corners are small, so less is more here. A stack of bowls, a small plant, or a few cookbooks is enough. Avoid tall items that block the sightline into the corner. If it starts looking cluttered, pull everything out and put back only your three favorites.
- Add a puck light inside the corner unit so it never looks like a cave.
- Keep items low and grouped so the corner stays visible.
- Use matching dishware here for a calm, intentional display.
Shop This Look
14. Cherry Cabinets with Layered Lighting
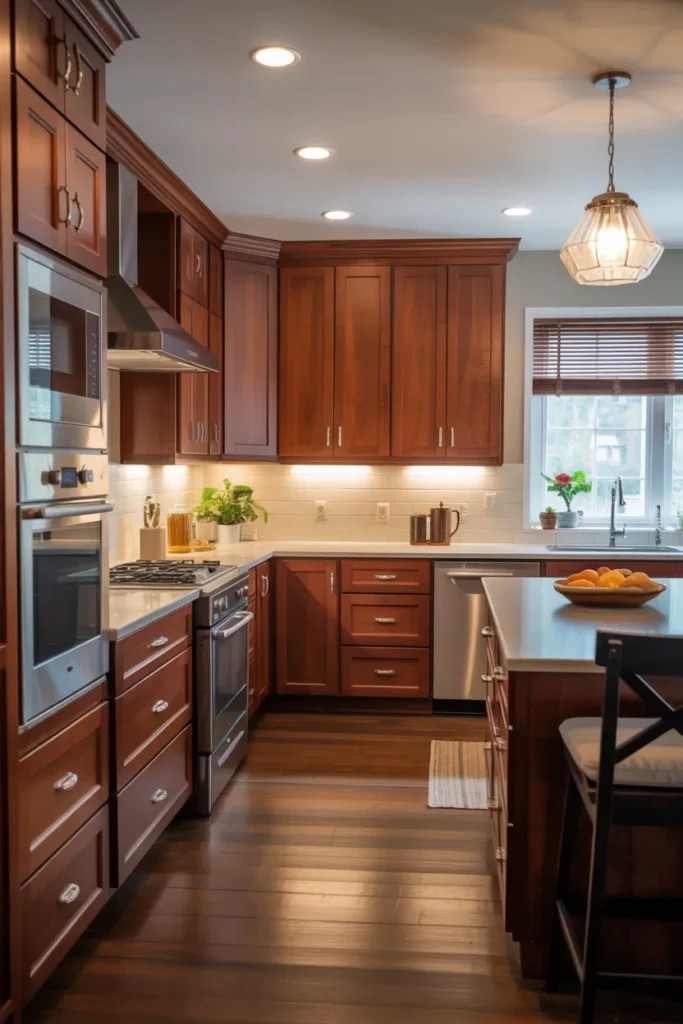
Layered lighting means having more than one light source in the kitchen. Cherry cabinets drink up light, so one overhead fixture is never enough. Three layers (ambient, task, and accent) make the room work at any hour.
Build your three layers: Ambient light comes from the ceiling: recessed cans or a flush mount. Task light goes under the cabinets and over the island. Accent light is the fun part: glass-cabinet lighting, a picture light over open shelves, or toe-kick strips. Each layer gets its own switch so you can set the mood.
Keep the color consistent: Match every bulb to the same warm temperature, ideally 2700K. Mixed color temperatures make cherry look strange, with some areas pink and others gray. Swap old bulbs all at once so nothing is left over from the old mix. Dimmers on every layer let you tune the room from cooking bright to dinner soft.
- Put each light layer on its own switch or dimmer.
- Match all bulbs to 2700K warm white for consistent color.
- Add toe-kick lighting for a subtle night-time glow.
Shop This Look
15. Cherry Cabinets with Glass Display Shelves
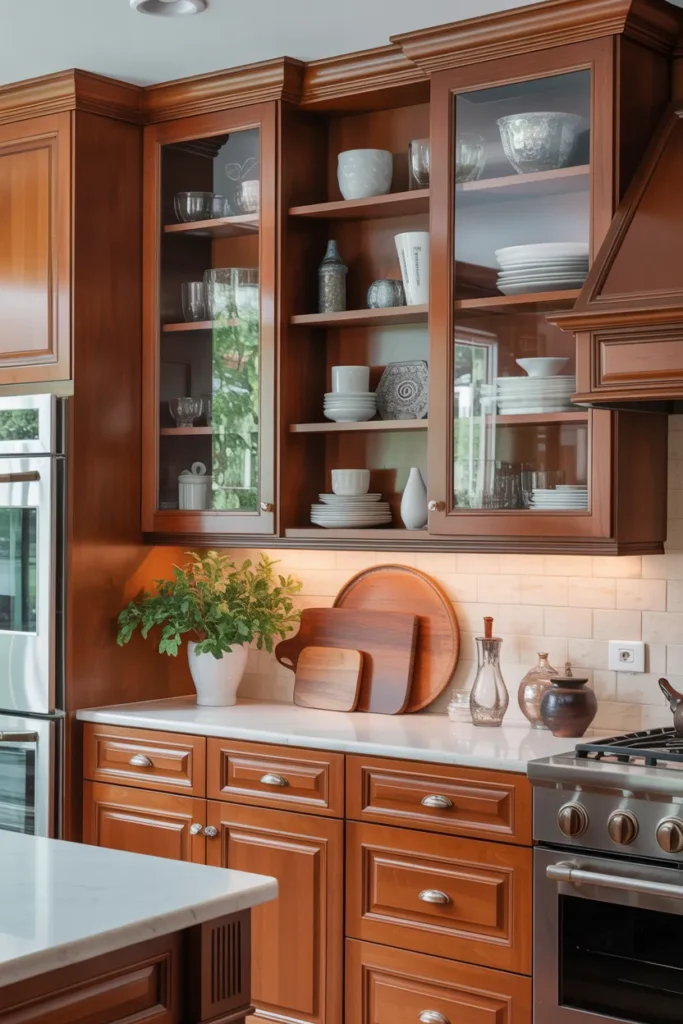
Glass display shelves inside cherry cabinets give you the showcase look without giving up door storage. The shelves catch light and show off your best pieces. It works especially well in a hutch-style upper or a pantry cabinet.
Choose the shelf material: Glass shelves disappear and keep the focus on what is displayed. Wood shelves stained to match the cherry feel more built-in. Tempered glass is a must for safety. Keep the shelf clips matched to your hardware finish so the small details look right.
Curate the display: This is your trophy shelf, so treat it that way. Group items by color or material for a calm look. Leave at least a third of each shelf empty. Rotate the display with the seasons: holiday pieces in December, fresh ceramics in spring. A display that changes stays interesting.
- Use tempered glass shelves for strength and safety.
- Anchor display cabinets to the wall so they cannot tip.
- Rotate displayed items seasonally to keep the look fresh.
Shop This Look
16. Cherry Cabinets with Metallic Accents
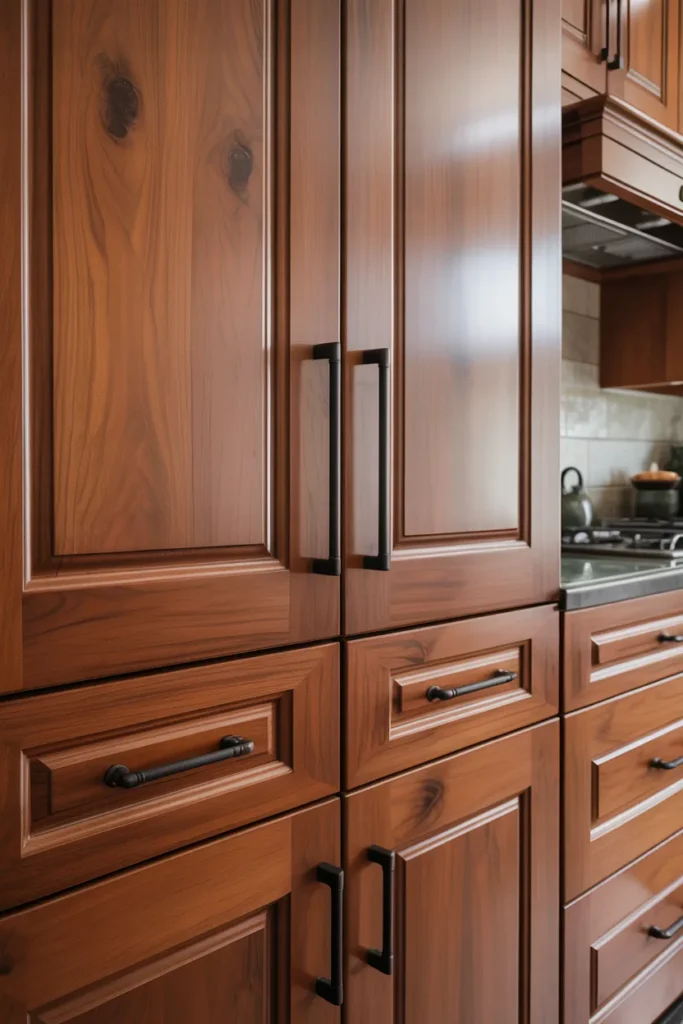
Metallic accents give cherry cabinets a modern edge. A few metal pieces catch the light and keep the wood from feeling too traditional. You do not need much: hardware, a faucet, and one or two decor pieces do the job.
Pick one metal and commit: Brass and gold warm up cherry beautifully. Nickel and chrome cool it down for a more contemporary feel. Copper sits in the middle and looks great with the red tones in cherry. Mixing two metals can work, but keep it to two and repeat each one at least twice so it looks intentional.
Spread the metal around: If your hardware is brass, echo it in the faucet and a pendant or two. A metal tray on the counter or metal bar stools carry the finish into the room. Small doses are better than large ones. One big metal range hood makes a statement; five competing metals make a mess.
- Repeat each metal finish at least twice in the room.
- Clean metal hardware with a soft cloth to keep the finish bright.
- Limit yourself to two metal finishes maximum.
Shop This Look
17. Cherry Cabinets with Glass-Front Pantry Doors
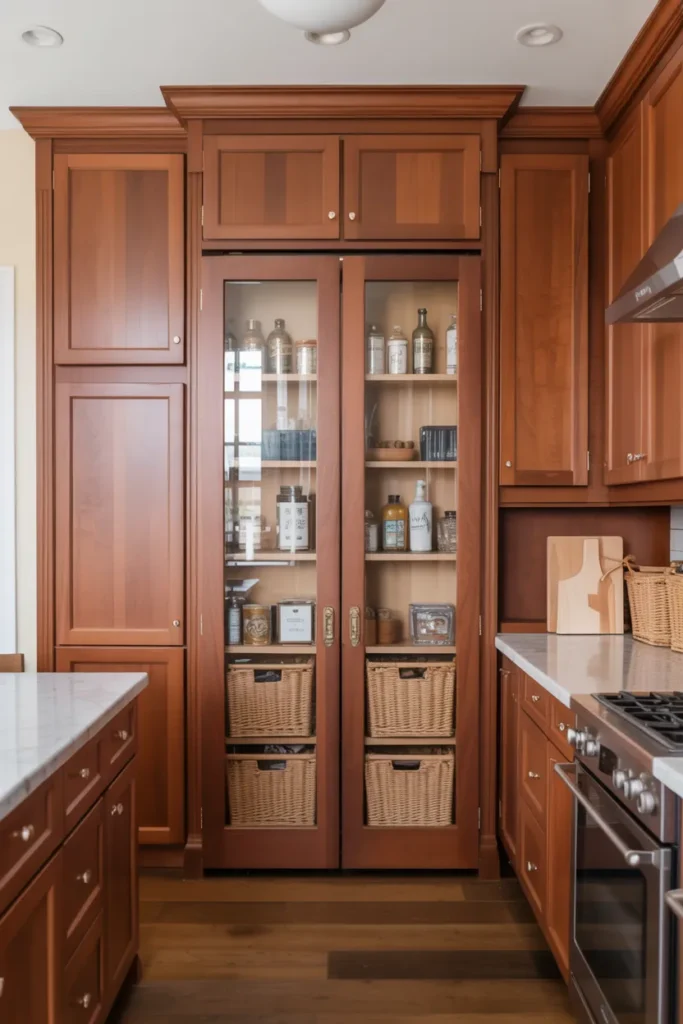
Glass-front pantry doors make a cherry pantry feel like a proper feature. You see your organized shelves through the glass, which is great motivation to keep them tidy. It also lets light into what is usually a dark cabinet.
Pick the glass and frame: A cherry frame with seeded or reeded glass keeps the pantry consistent with the rest of the kitchen. Full-glass doors show everything, so only choose them if your pantry stays organized. Half-glass doors hide the less pretty lower shelves. Make sure the door swings clear of nearby appliances before you order.
Organize behind the glass: Decant dry goods into matching jars so the pantry reads as one calm band. Group like items together and label the jars. Keep heavy items low and daily items at eye level. A pantry that looks good through glass is a pantry that works better, because you can actually find things.
- Decant staples into matching airtight jars for a uniform look.
- Label every jar so the whole household can find things.
- Keep a small step stool nearby for high pantry shelves.
Shop This Look
18. Cherry Cabinets with Decorative Corbels
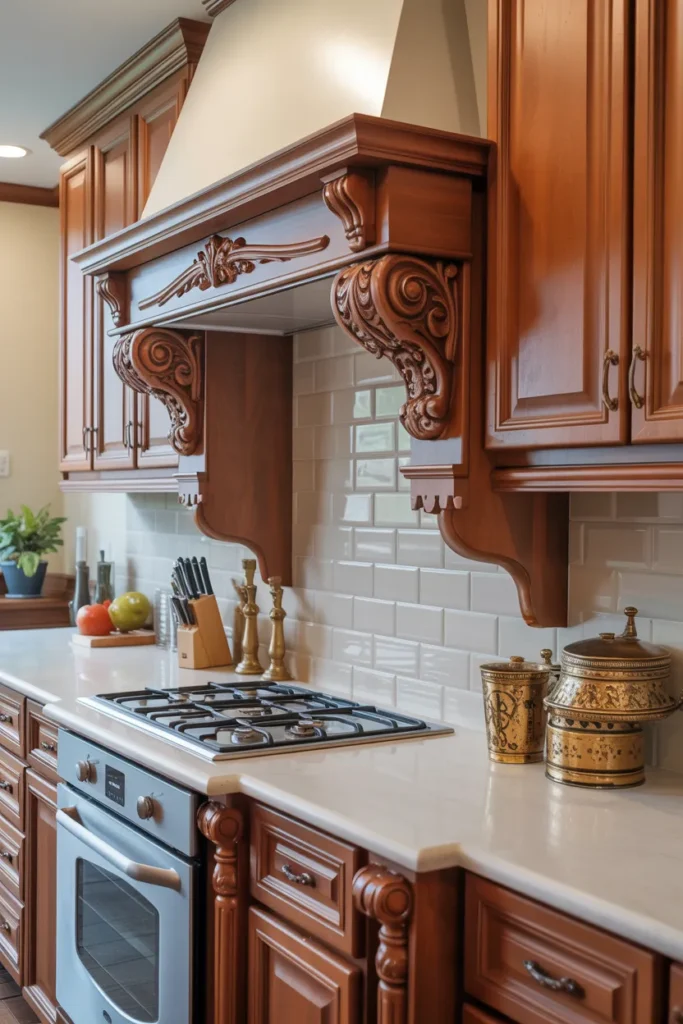
Corbels are the carved brackets that support an overhang, and they suit cherry kitchens perfectly. They add old-world character to islands, range hoods, and mantel-style surrounds. A pair of corbels can make a plain island end look custom.
Size them correctly: Corbels should look like they are actually holding something up. For a 12-inch countertop overhang, a 9 to 10 inch corbel works. For a range hood surround, match the corbel height to the hood proportions. Stain them to match your cherry cabinets so they read as part of the original design.
Place them where they show: Island ends, the front of a breakfast bar, and under a mantel hood are the classic spots. Space them evenly: two on a short run, three on a long one. If you are renting or want a no-drill option, look for corbels with keyhole backs that hang on screws. Step back after hanging to check they look level from across the room.
- Size corbels to the overhang so they look structural, not decorative.
- Stain corbels to match before installing them.
- Space multiple corbels evenly along the run.
Shop This Look
19. Cherry Cabinets with Contrasting Backsplash
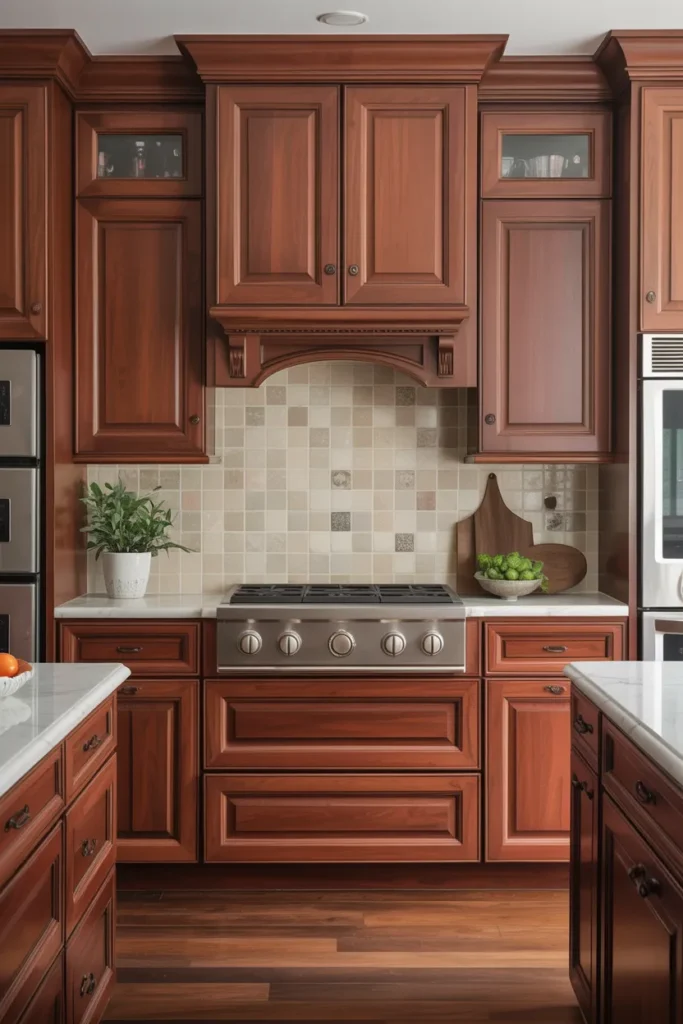
A contrasting backsplash is the fastest way to make cherry cabinets look current. The right tile breaks up all that wood and gives the eye a place to land. It is also one of the cheapest big-impact projects in a kitchen.
Choose tile that complements cherry: Cream and warm white subway tile is the safe classic. Handmade-look zellige tile adds texture and movement. Natural stone in warm tones picks up the depth in the wood. Avoid cool blue-grays, which tend to fight cherry. Bring samples home and tape them up for a few days before you decide.
Keep the installation clean: Take the tile all the way to the ceiling behind the range for a high-end look. Use a grout color close to the tile so the pattern stays subtle. Seal natural stone tile before grouting so the grout does not stain it. If you are doing it yourself, rent a wet saw: clean cuts make the whole job look professional.
- Run the tile to the ceiling behind the range for a custom look.
- Match grout to the tile for a calm, seamless field.
- Seal natural stone before grouting to prevent stains.
Shop This Look
20. Cherry Cabinets with Floating Shelves
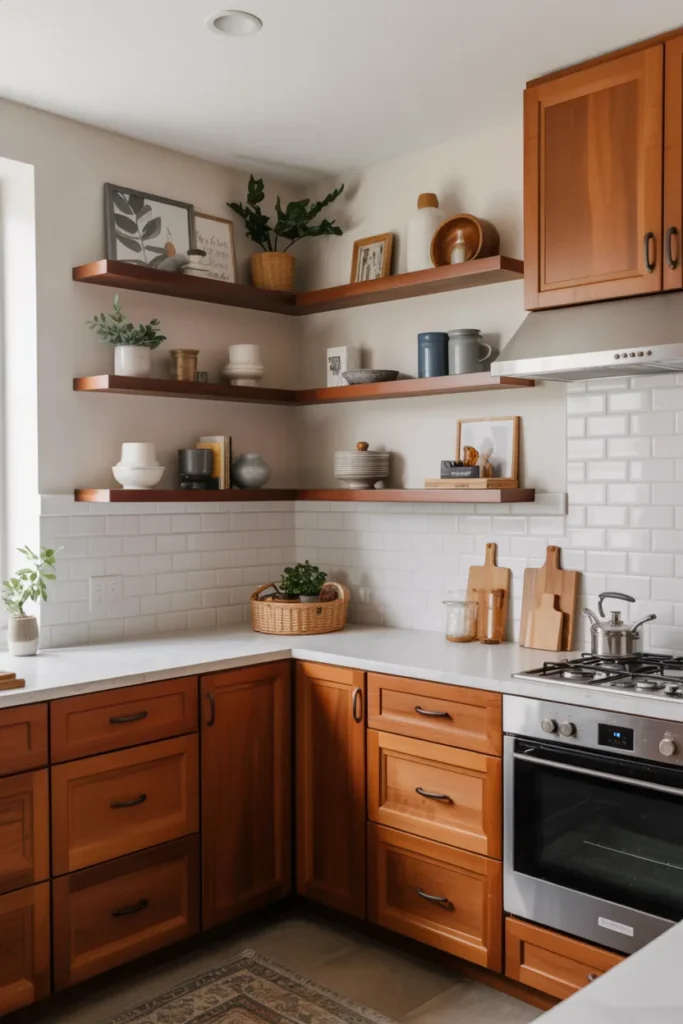
Floating shelves in a cherry kitchen give you display space without more heavy cabinetry. They work well on a short wall or beside a window where cabinets would feel bulky. A few styled shelves make the whole kitchen feel lighter.
Match or contrast the wood: Shelves stained to match the cherry look built-in and calm. A contrasting light wood or white shelf adds a deliberate two-tone moment. Thick shelves (at least 2 inches) look more substantial and hold more weight. Make sure the hidden brackets are rated for the load, especially if you plan to stack dishes.
Style in layers: Start with the practical stuff on the bottom shelf: daily glasses, small bowls. Build up with a plant, a framed print, and a few cookbooks. Vary the heights so the shelf has rhythm. Leave empty space between groups. If the shelf looks crowded, you have too much on it.
- Use hidden brackets rated for at least 50 pounds per shelf.
- Keep daily-use items on the lowest shelf for easy reach.
- Vary object heights so the display has visual rhythm.
Shop This Look
21. Cherry Cabinets with Integrated Lighting Inside Cabinets
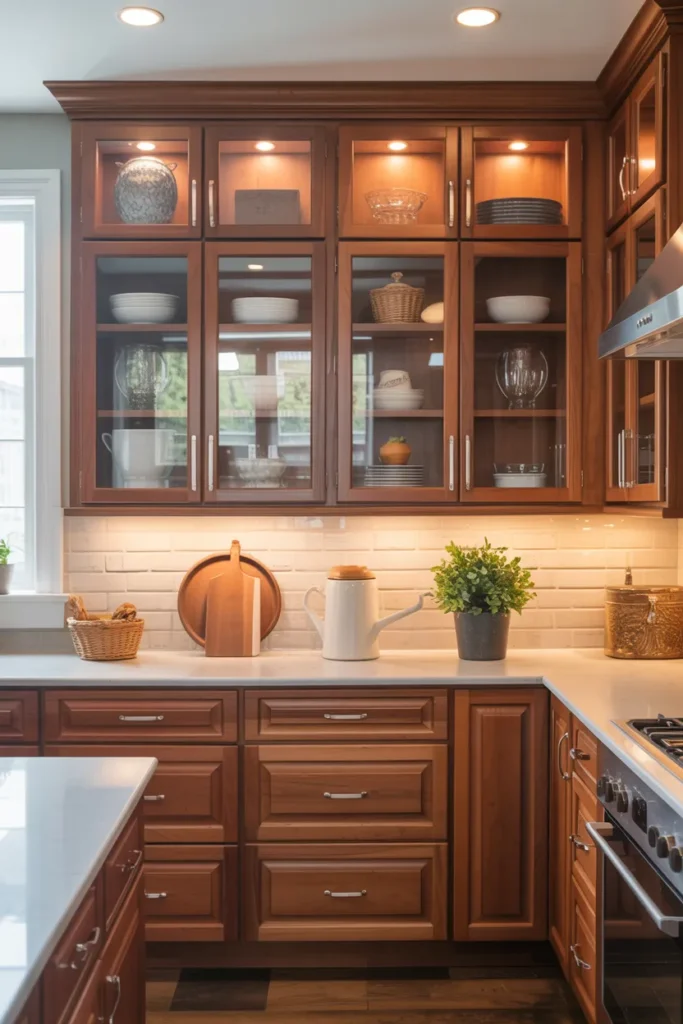
Lighting inside the cabinets is the upgrade nobody sees coming. Open a glass-front cherry cabinet at night and the dishes glow. It turns storage into a display and makes the kitchen feel expensive.
Use the right lights: Slim LED strips or battery puck lights both work inside cabinets. Warm white (2700K) keeps the cherry looking rich. Battery lights with a remote are the easy install. Hardwired strips with a door switch turn on automatically when you open the cabinet, which feels like magic.
Place them thoughtfully: Mount the light at the front top of the cabinet so it washes down over the shelves. Avoid the center, which creates shadows on both sides. One strip per glass-front cabinet is usually enough. If you have a whole wall of display cabinets, wire them to one switch so they all come on together.
- Mount lights at the front top of each cabinet for even coverage.
- Use warm white LEDs so the cherry keeps its rich tone.
- Wire multiple display cabinets to a single switch.
Shop This Look
22. Cherry Cabinets with Custom Pull-Outs
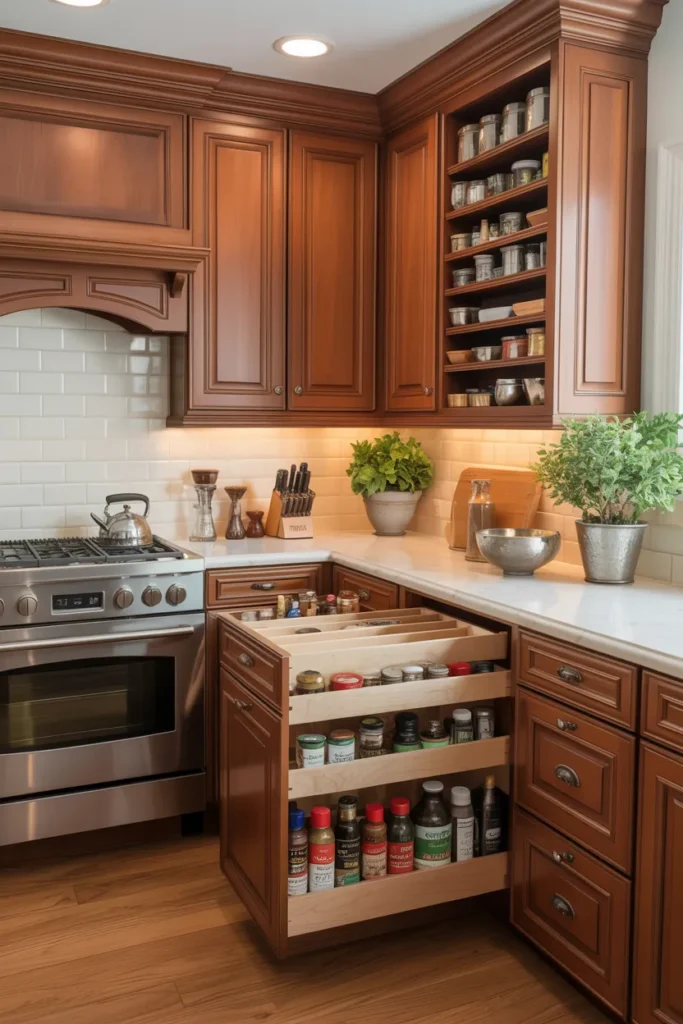
Custom pull-outs fix the biggest complaint about base cabinets: you cannot reach the back. Pull-out shelves, spice racks, and trash pull-outs make every inch usable. In a cherry kitchen, this is function over form, and it is worth it.
Start with the worst cabinet: Everyone has one cabinet that is a black hole. Start there. Pull-out shelves double the usable space in deep base cabinets. A pull-out spice rack next to the range keeps bottles organized. A trash pull-out hides the bin and frees up floor space. Measure the cabinet opening carefully before ordering any of these.
Install and adjust: Most pull-outs install with a few screws and take under an hour. Slide them in and check that they clear the door hinges. Adjust the height so tall items fit. Once you live with one pull-out for a week, you will want them everywhere, so budget for the whole kitchen.
- Measure the cabinet opening before ordering any pull-out.
- Start with the hardest-to-reach cabinet for the biggest win.
- Check that pull-outs clear the door hinges when sliding.
Shop This Look
How to Start
Start by living with your cherry cabinets for a week before changing anything. Notice when the kitchen feels dark and when it glows. The problem spots will tell you exactly which ideas to try first. A lighting fix is very different from a color fix, and you want to solve the right problem.
Then pick one project and finish it completely. Hardware swaps and lighting upgrades are the best first moves because they are cheap and fast. Do the whole kitchen at once so it looks intentional. Half-finished updates are worse than no updates at all.
Build from there in order of impact. Backsplash and countertops come next if the budget allows. Big paint projects like a two-tone scheme or a painted island should wait until you are sure about the colors. Live with samples for a full week before you commit to gallons of paint.
- Audit your kitchen first: note where it feels dark, dated, or cluttered.
- Start with cheap wins like hardware and lighting before big projects.
- Finish one project completely before starting the next one.
Shop This Look
Common Mistakes
- Pairing cherry with cool gray tones that clash with the wood’s red undertones.
- Skipping under-cabinet lighting, which leaves cherry looking almost black at night.
- Choosing ornate hardware that competes with the busy cherry grain.
- Going all-cherry with no contrast, so the kitchen feels heavy and dark.
- Using cool white bulbs that make cherry cabinets look gray and flat.
- Forgetting to seal natural stone counters, which stain fast in a busy kitchen.
- Starting three projects at once and finishing none of them properly.
Frequently Asked Questions
Will cherry cabinets make my kitchen look dated?
Not if you style them well. Cherry looks dated when it is paired with old-fashioned hardware, yellow lighting, and heavy finishes. Update the hardware, add warm LED lighting, and lighten the counters or backsplash, and the same cabinets look current. The wood itself is a classic, not a trend.
What wall color goes best with cherry cabinets?
Warm neutrals work best: creamy whites, warm grays, and soft beiges. These colors let the cherry be the star without competing. Avoid cool blue-grays, which clash with the red undertones in the wood. Test paint swatches on the wall next to the cabinets in daylight before you commit.
How do I keep cherry cabinets from looking too dark?
Light is the answer. Add under-cabinet lighting, keep counters light, and make sure the room gets enough ambient light. Glass-front doors and open shelving break up dark runs of wood. A light backsplash reflects light around the room. Small kitchens benefit most from these tricks.
Can I paint cherry cabinets instead of replacing them?
Yes, cherry takes paint well because the grain is fine. Sand the surface, use a good bonding primer, and finish with cabinet-grade enamel. Two-tone schemes keep some cherry visible while updating the look. If the cabinets are in good shape structurally, painting costs a fraction of replacement.
What countertop material pairs best with cherry?
Light quartz, white granite, and butcher block all pair beautifully with cherry. For more countertop ideas that work with warm wood tones, see our guide to kitchen countertops ideas. Bring samples home and check them against your cabinets in daylight before deciding.
The Finishing Touch
Cherry cabinets are an investment that pays off when you treat them right. The ideas in this guide cover everything from quick hardware swaps to full two-tone makeovers. You do not need to do them all. Even two or three changes will shift the whole feel of your kitchen.
If you want more inspiration from real kitchens, this Houzz feature on a cherry cabinet kitchen remodel shows how warm wood cabinetry, good lighting, and smart storage come together in a real home. It is a useful reference for what cherry can look like at its best.
Start with the project that excites you most. Order the hardware, pick up the paint samples, or measure for those under-cabinet lights. Your kitchen will thank you every time you walk in.