16 She Shed Craft Room Ideas for Organized Small Spaces
A she shed craft room is one of the best uses for a small backyard building, because crafting needs exactly what a shed offers: a door you can close, surfaces you can mess up, and nobody else’s stuff in the way. These she shed craft room ideas focus on small spaces, with storage that goes up the walls and furniture that folds away when you need floor space.
Costs stay reasonable. A basic organized setup with shelves, bins, and a folding table can cost roughly 150 to 350 dollars, while a fuller room with cabinets, a pegboard wall, and proper task lighting lands around 400 to 800 dollars, and prices vary by brand and material. You do not need to insulate or rewire the whole shed to start, just make it dry, lit, and organized.
The ideas below are all about working in tight quarters: vertical storage, mobile carts, and zones for cutting, storing, and finishing. Each idea includes a budget note, an honest warning, and a small shopping list. Measure your shed’s interior before buying anything, because shed dimensions are always smaller than they look from outside.
This post contains affiliate links. If you buy through them, I may earn a small commission at no extra cost to you.
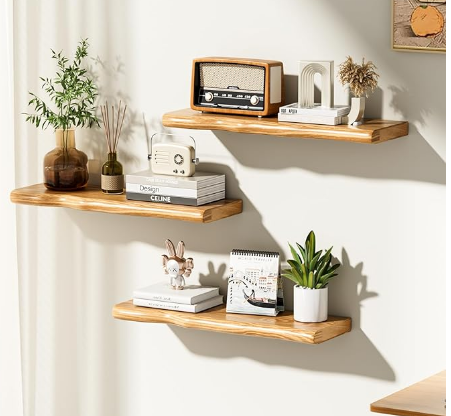
1. Wall-to-Wall Floating Shelves
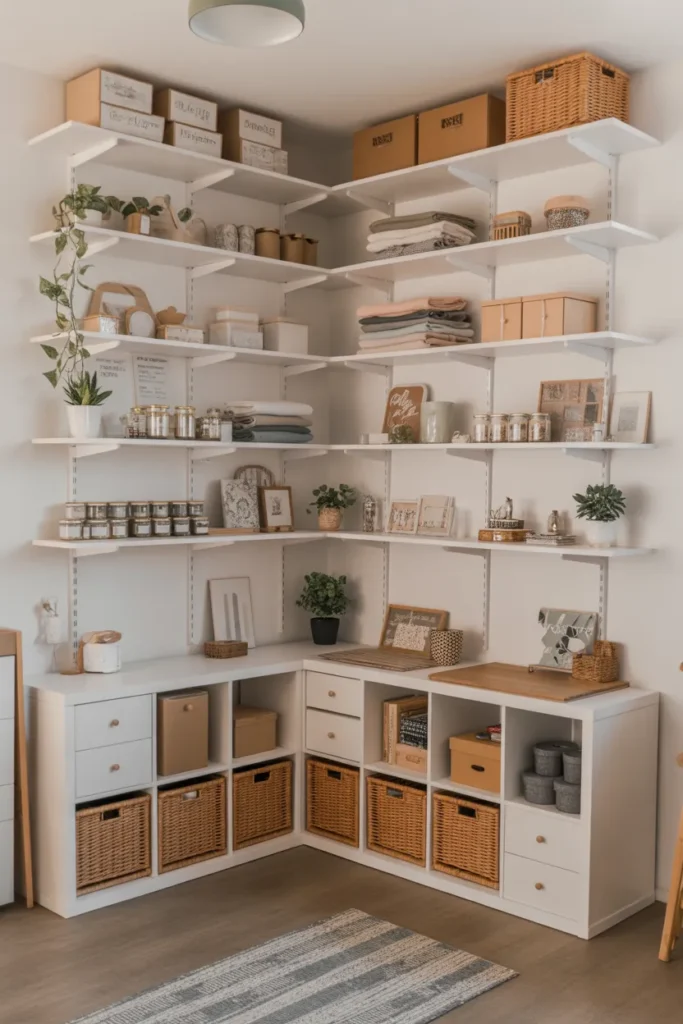
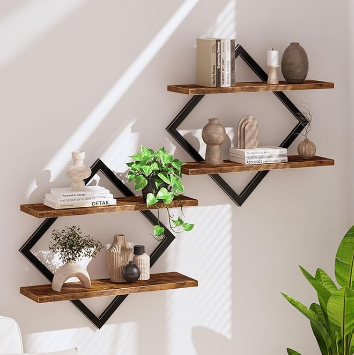
Floating shelves are the fastest way to add storage to a she shed without eating floor space. Run them wall to wall on one side and you get a full library of bins, jars, and fabric bolts at eye level. In a shed, keep the shelves on the wall opposite the door so supplies stay visible the moment you walk in.
Anchor into studs: shed walls are often thinner than house walls, so find the studs and use proper brackets, because a loaded shelf pulling out of thin paneling is a real mess. Keep heavy low: put paint, paper stacks, and tool boxes on the lowest shelf and light decor up high, which also makes the room feel more stable.
Clear bins and matching jars make the shelves look tidy even when they are full. Label the front of every bin, since you will forget what is in the back ones within a month. This setup costs roughly 80 to 200 dollars, and prices vary with shelf length and bracket quality. Honest warning: check for roof leaks above the shelf line first, because a slow drip will ruin paper and fabric stored up high before you notice.
- Run shelves wall to wall on one side
- Anchor every bracket into wall studs
- Use clear bins with front labels
Shop This Look
| SHELVES | BINS | LABELS |
|---|---|---|
| Floating wall shelves set | Clear stackable storage bins | Chalkboard bin labels |
| Shop → | Shop → | Shop → |
2. Fold-Down Craft Table
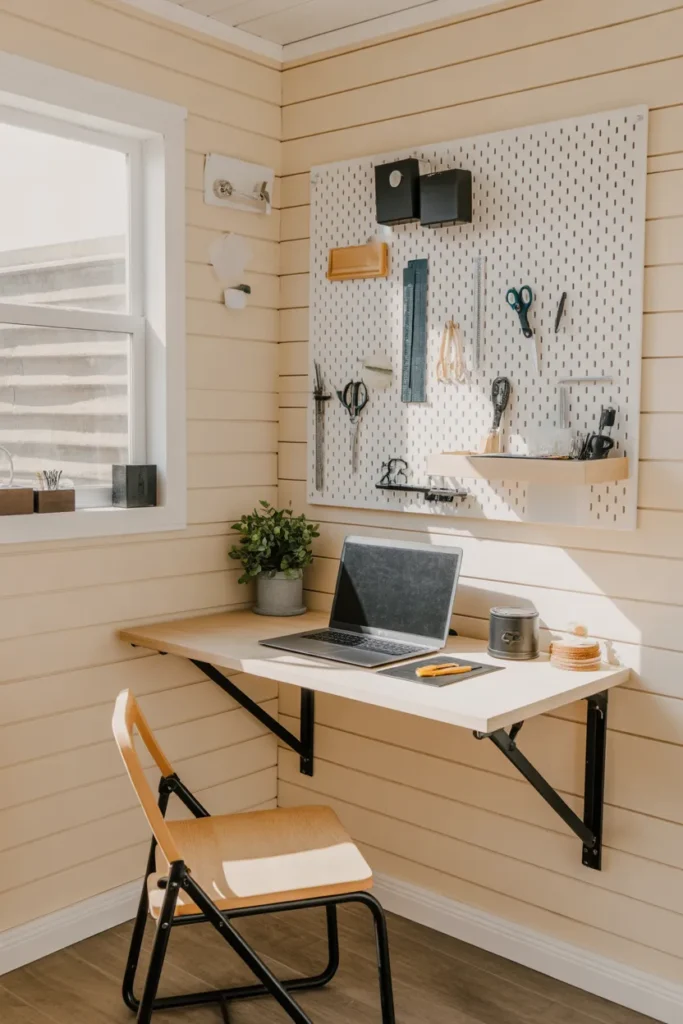
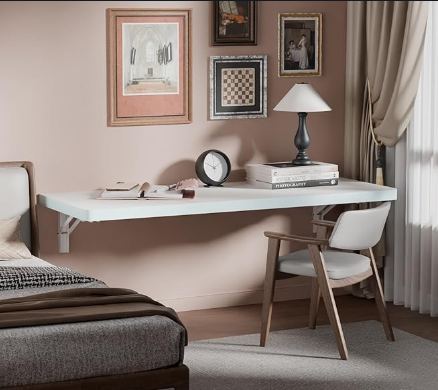
A fold-down table is the single best furniture choice for a small she shed. Mounted to the wall with sturdy brackets, it gives you a full work surface when open and disappears when you need the floor. Pair it with a comfortable stool that tucks underneath, and the room works for both big cutting projects and quick tasks.
Rate the brackets: buy folding brackets rated for at least twice the weight you plan to put on the table, because a sewing machine plus fabric adds up fast. Level it once: shim the table level during install, since an unlevel surface makes cutting and gluing frustrating every single time.
A table around 24 inches deep and 48 inches wide fits most sheds and most projects. Add a self-healing cutting mat on top to protect the surface. This setup costs roughly 60 to 150 dollars, and prices vary with bracket quality. Practical tip: mount the table at standard desk height, about 29 to 30 inches, so you can also use it with a regular chair for detail work.
- Use folding brackets rated for double the load
- Mount at 29 to 30 inches high
- Add a self-healing cutting mat on top
Shop This Look
| BRACKETS | MAT | STOOL |
|---|---|---|
| Heavy duty folding shelf brackets | Self-healing cutting mat large | Adjustable craft stool |
| Shop → | Shop → | Shop → |
3. Built-In Storage Cabinets
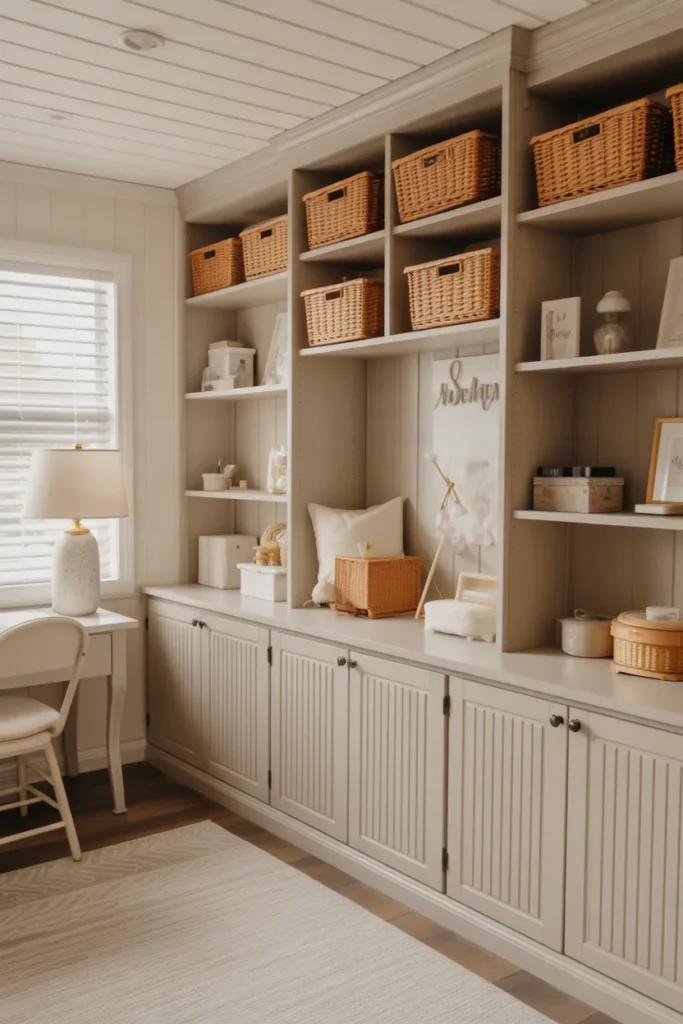
Built-in cabinets turn a shed corner into a real workstation with closed storage that hides the visual clutter. Stock kitchen wall cabinets work well here, they are cheap, standard sizes fit most sheds, and the doors keep dust off your supplies. Mount a row at counter height for a work surface plus storage underneath.
Seal the backs: shed walls can sweat with temperature changes, so leave a small air gap behind cabinets or seal the wall, because trapped moisture warps cabinet backs. Lock the doors: if kids or pets visit the shed, simple cabinet latches keep little hands away from sharp tools and chemicals.
Paint stock cabinets to match your shed walls and they look custom for very little money. Add a butcher-block style top for a durable work surface. This setup costs roughly 200 to 450 dollars, and prices vary with cabinet count and countertop choice. Honest warning: measure your door swing before placing tall cabinets, because a cabinet that blocks the shed door is a daily annoyance.
- Use stock kitchen wall cabinets
- Leave an air gap behind each cabinet
- Add latches if kids visit the shed
Shop This Look
| CABINETS | LATCHES | PAINT |
|---|---|---|
| Stock wall kitchen cabinet | Child safety cabinet latches | Cabinet and trim paint |
| Shop → | Shop → | Shop → |
4. Rolling Cart Organization
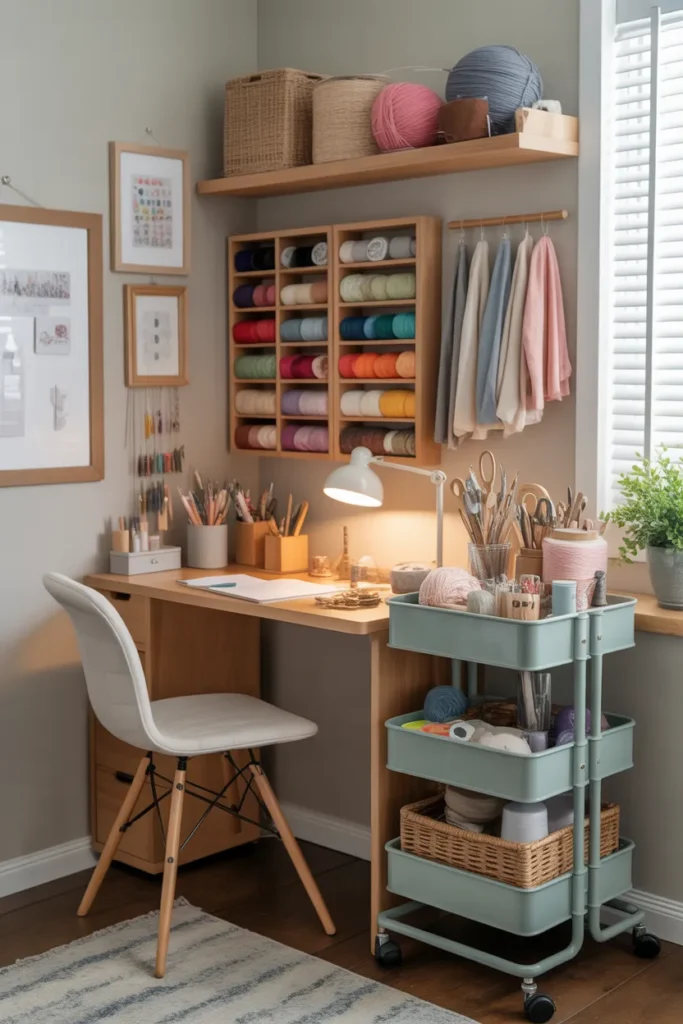
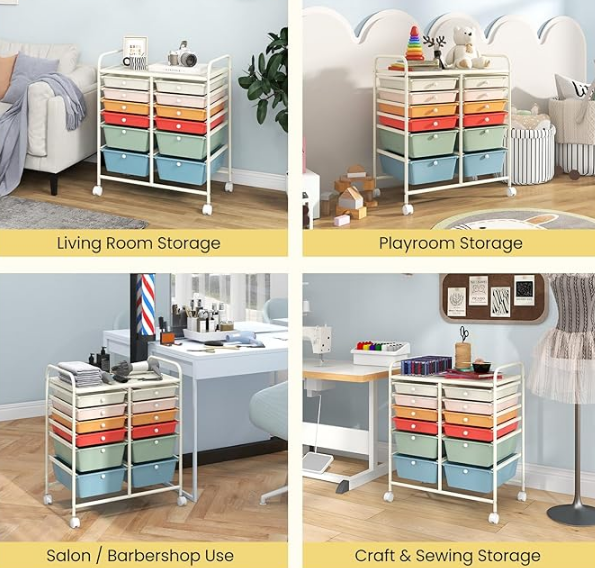
A rolling cart is the hardest-working piece in a small craft room. Load one cart per project type, sewing supplies on one, painting on another, and wheel the right one to the table when you start. When the project is done, the cart rolls back against the wall and the table is clear again.
Lock the wheels: cheap carts roll away mid-project, so buy one with locking casters or add them yourself, because chasing a cart across a shed floor gets old. Label the tiers: a label on each shelf edge means you grab the right cart without opening drawers.
Three-tier metal carts are the standard for a reason, they fit in narrow gaps and hold a surprising amount. Line the tiers with non-slip shelf liner so small items do not slide when you roll. This setup costs roughly 30 to 70 dollars per cart, and prices vary with size and build quality. Practical tip: keep one cart empty as a mobile work surface for glue-ups and drying, so wet projects never sit on your main table.
- Dedicate one cart per project type
- Use locking casters on every cart
- Line tiers with non-slip shelf liner
Shop This Look
| CART | LINER | LABELS |
|---|---|---|
| Three tier rolling utility cart | Non-slip shelf liner roll | Waterproof label maker |
| Shop → | Shop → | Shop → |
5. Pegboard Tool Wall
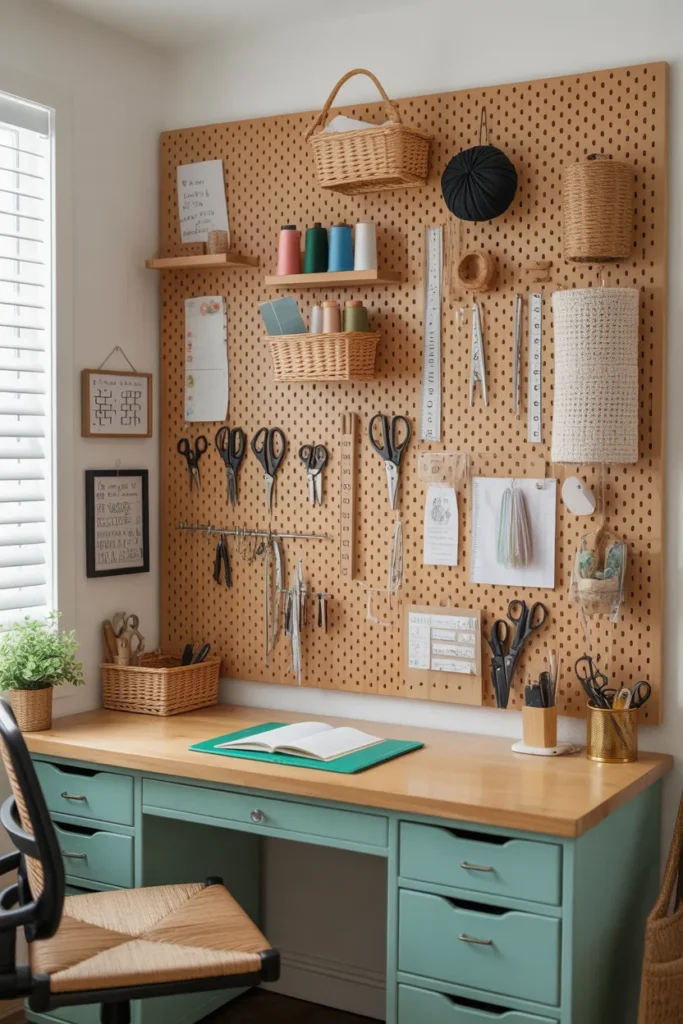
A pegboard wall puts every tool where you can see it, which is half the battle in a small craft room. Scissors, rulers, pliers, and spools hang in plain sight above your work table, so you stop digging through drawers. A 2 by 4 foot panel above the main table covers most hand tools.
Frame it off the wall: mount the pegboard on furring strips so there is a gap behind it, because hooks need that space to seat properly. Outline the tools: trace each tool’s shape on the board with a marker, so everything has a home and you notice instantly when something is missing.
Standard pegboard hooks come in variety packs, and small bins that hook onto the board hold screws, beads, and findings. Paint the board to match your room for a finished look. This setup costs roughly 25 to 60 dollars, and prices vary with board size and hook packs. Honest warning: heavy tools like full glue guns can pull standard hooks out, so use locking hooks or a second anchor point for anything weighty.
- Mount on furring strips for hook clearance
- Trace tool outlines on the board
- Use locking hooks for heavy tools
Shop This Look
| BOARD | HOOKS | BINS |
|---|---|---|
| Pegboard wall organizer panel | Pegboard hooks assortment kit | Pegboard storage bins |
| Shop → | Shop → | Shop → |
6. Vertical Fabric Storage Rack
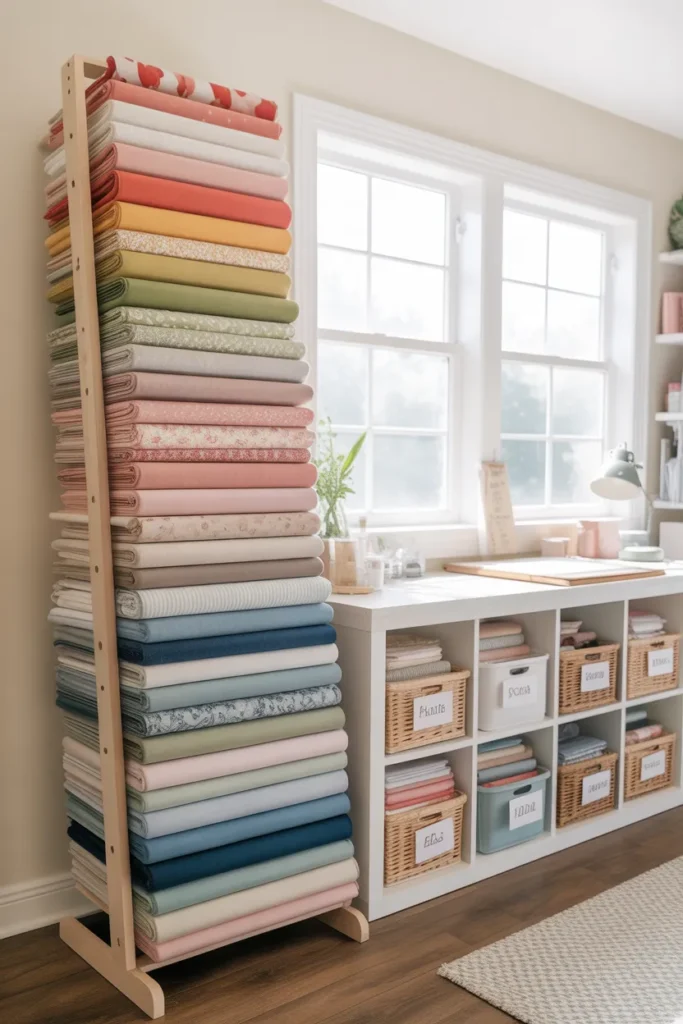
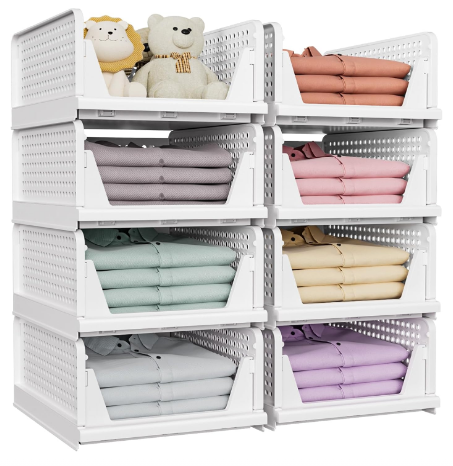
Fabric eats space fast, and stacking it flat wastes most of a shelf. A vertical rack that holds bolts and folded cuts upright lets you flip through fabric like files, so you actually use what you own. It also keeps folds crisp, since fabric stored upright does not compress under its own weight.
Sort by color: a rainbow or light-to-dark order means you find the right fabric in seconds instead of unfolding half the rack. Cap the collection: decide how many slots the rack has and stick to it, because fabric stashes expand to fill every available inch.
A simple cube shelf turned on its side with vertical dividers works as a DIY version. Comic-book boards wrapped in fabric keep cuts neat and uniform on the shelf. This setup costs roughly 40 to 120 dollars, and prices vary with rack size. Practical tip: keep fabric out of direct shed-window sun, since UV fades folded edges and you will see the line on every cut piece.
- Store fabric upright like files
- Sort slots light to dark
- Keep the rack out of direct sun
Shop This Look
| RACK | BOARDS | DIVIDERS |
|---|---|---|
| Cube storage organizer shelf | Fabric organizer boards | Adjustable shelf dividers |
| Shop → | Shop → | Shop → |
7. Compact Corner Craft Desk
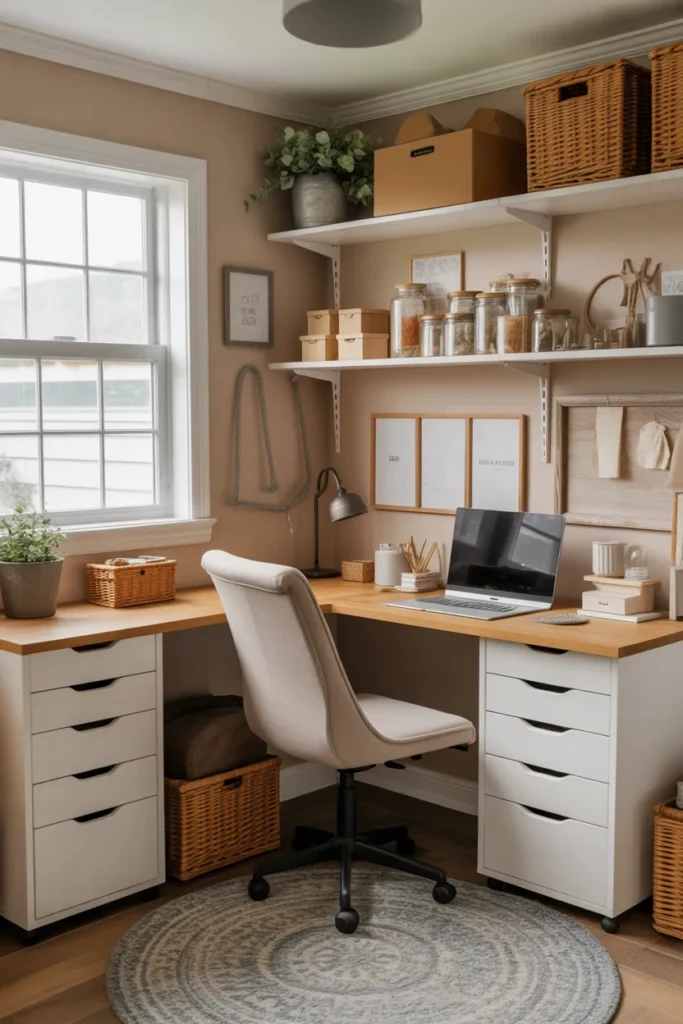
Corners are dead space in most sheds, and a small corner desk turns one into a permanent workstation. An L-shaped or triangular desk tucks into the corner and leaves the middle of the room open. This is the right pick if you craft daily and want to leave a project set up overnight.
Check the depth: many corner desks are shallow, so confirm at least 20 inches of depth for a sewing machine or a cutting mat to sit comfortably. Light the corner: corners are the darkest part of a shed, so plan a clip-on or wall-mounted lamp from the start, not as an afterthought.
Raise the desk slightly on blocks if you need storage underneath for bins. A small corner desk with a hutch gives you vertical storage right where you work. This setup costs roughly 70 to 180 dollars, and prices vary with size and material. Honest warning: a corner desk can trap you if the shed is narrow, so leave enough room to push the chair back and stand up without squeezing.
- Confirm at least 20 inches of depth
- Add a clip-on lamp for the dark corner
- Leave room to push the chair back
Shop This Look
| DESK | LAMP | CHAIR |
|---|---|---|
| Small L-shaped corner desk | Clip-on desk lamp LED | Compact armless office chair |
| Shop → | Shop → | Shop → |
8. Clear Storage Bin System
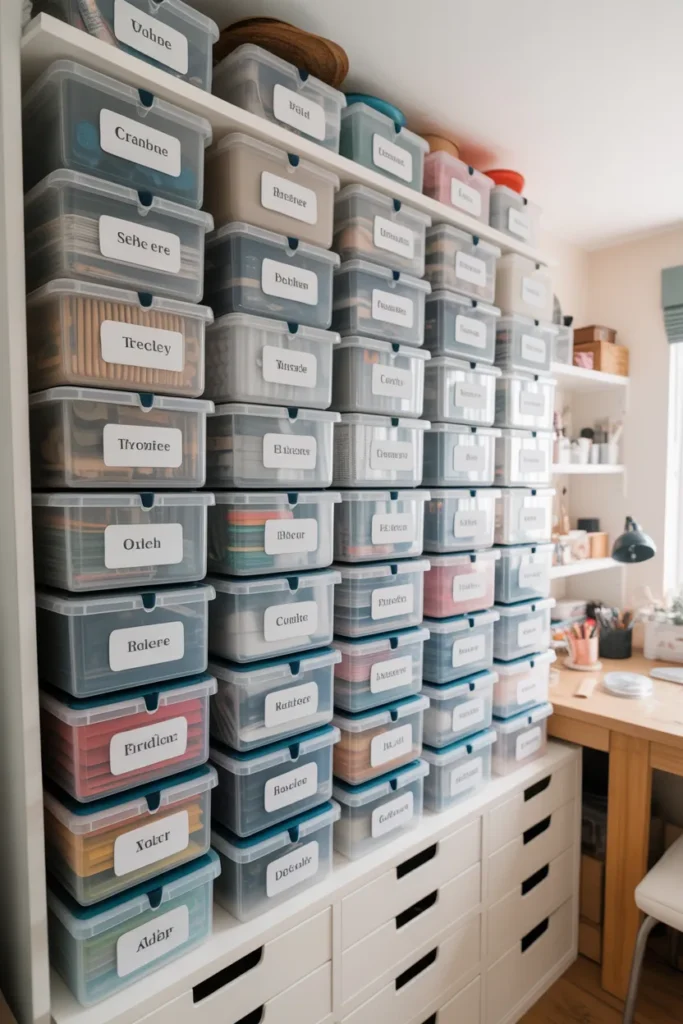
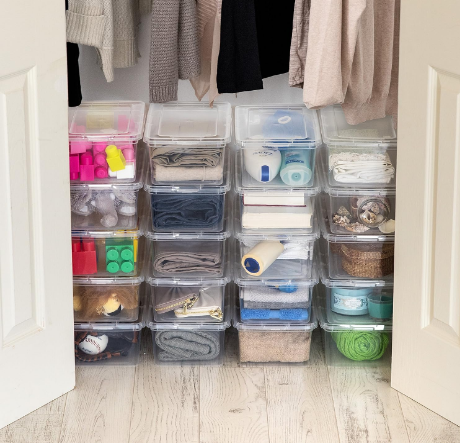
Clear bins are the backbone of craft storage because you can see what is inside without opening anything. A full wall of matching clear bins looks tidy even when it is packed, and it stops you from buying duplicates of supplies you already own. Stack them on shelves or slide them under the work table.
Buy one size: pick one or two bin sizes and buy them in bulk, because matching bins stack safely and mixed sizes topple. Label everything: clear helps, but a label with the contents and the date stops mystery bins from piling up.
Latching lids matter in a shed, where dust and the occasional insect get in. Keep one bin per category, ribbon, adhesives, paints, and resist the urge to mix. This setup costs roughly 40 to 100 dollars for a starter set, and prices vary with bin size. Practical tip: do not stack clear bins more than four high without a shelf, because the bottom bin cracks under the weight.
- Stick to one or two matching bin sizes
- Choose latching lids for dust protection
- Stack no more than four high unshelved
Shop This Look
| BINS | LABELS | SHELF |
|---|---|---|
| Clear latching storage bins | Adhesive storage labels | Heavy duty storage shelf |
| Shop → | Shop → | Shop → |
9. Magnetic Strip Tool Organizer
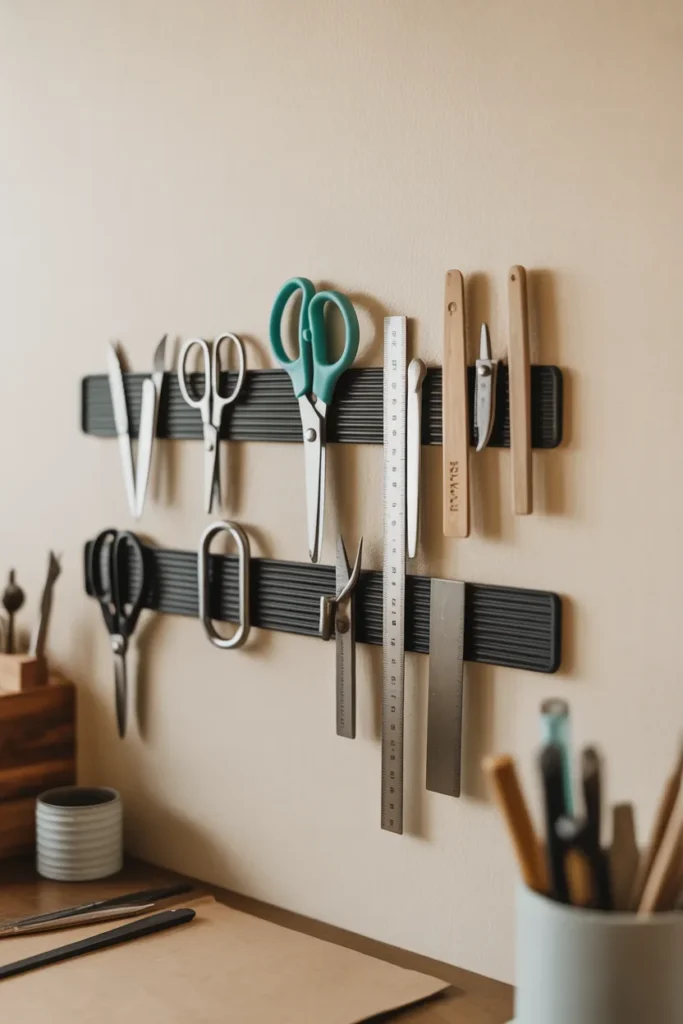
A magnetic strip on the wall holds scissors, rulers, tweezers, and other metal tools right where you reach for them. It takes up zero counter space and costs very little. Mount a strip or two beside your work table and the tools you use every ten minutes stop disappearing into drawers.
Test the magnet: cheap strips lose grip over time, so buy a knife-grade magnetic bar, because dropped scissors are a safety problem, not just an annoyance. Keep it reachable: mount at arm’s height beside your dominant hand, not across the room where you will never walk to get a tool.
Two 18-inch bars cover most hand tools. This also works inside a cabinet door if you want tools hidden. This setup costs roughly 15 to 40 dollars, and prices vary with bar length and magnet strength. Honest warning: keep magnetic strips away from computerized sewing machines and phones, since strong magnets and electronics do not mix well.
- Buy knife-grade magnetic bars
- Mount at arm’s height near the table
- Keep away from electronics
Shop This Look
| STRIP | SCISSORS | MOUNT |
|---|---|---|
| Magnetic knife holder strip | Craft scissors set | Heavy duty mounting screws |
| Shop → | Shop → | Shop → |
10. Multi-Functional Storage Bench
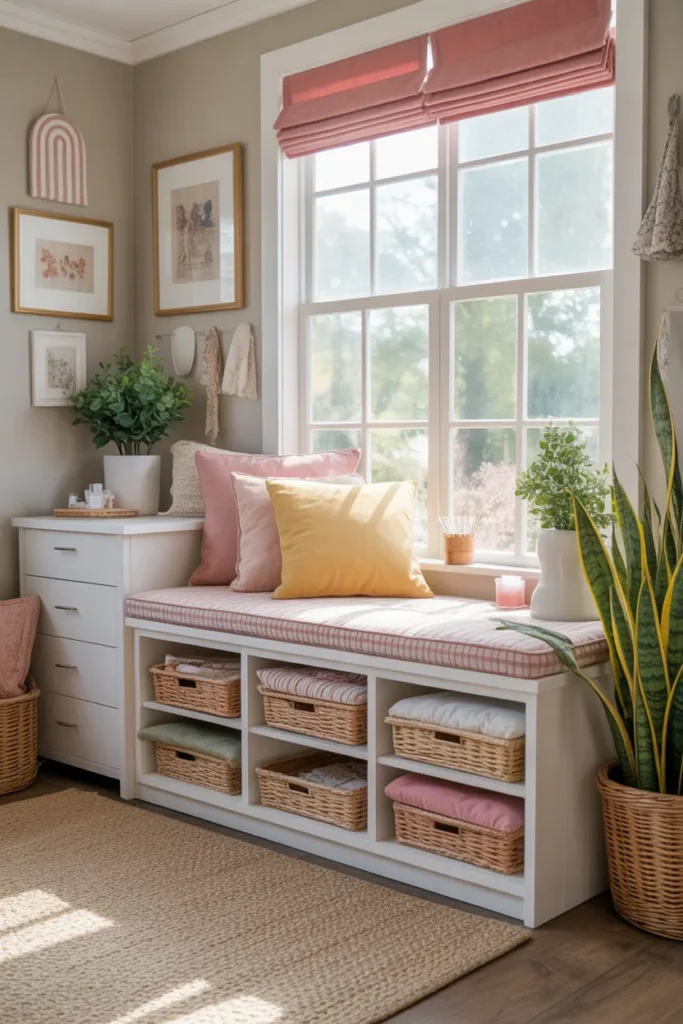
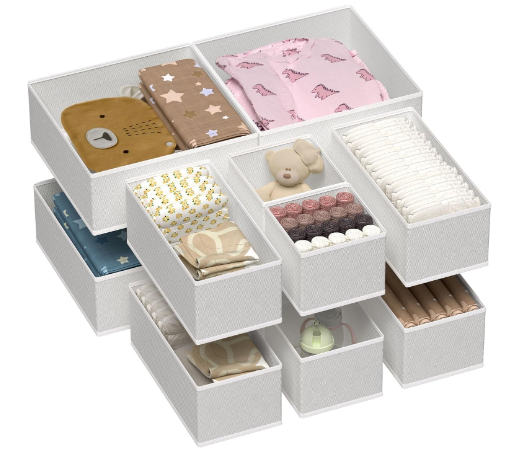
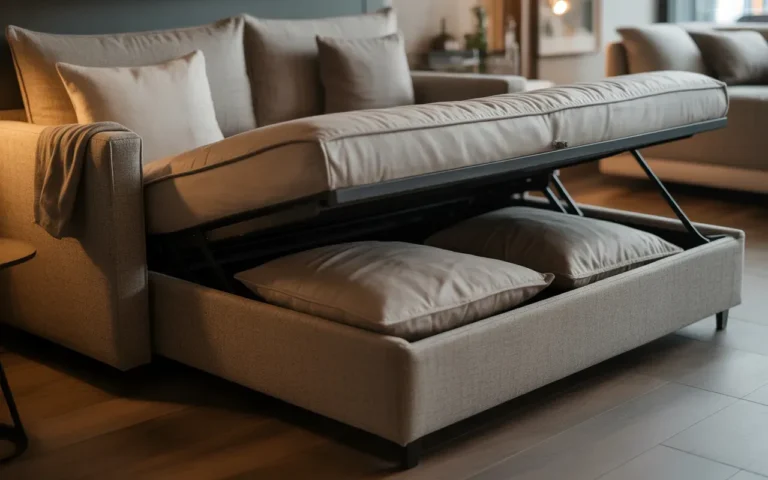
A storage bench does three jobs in a she shed: seating, hidden storage, and an extra work surface. Tuck it under a window and it holds fabric, works-in-progress, and the overflow that never fits on shelves. Add a cushion on top and it becomes the spot where you sit to hand-sew or take a break.
Check the weight rating: a bench that doubles as seating must hold an adult, so confirm the rating before you buy, because craft storage benches are not all built for sitting. Sort the inside: use small bins inside the bench so it does not become one deep pit where supplies go to vanish.
A hinged lid is easier than drawers in a tight shed, since drawers need clearance to open. Look for a bench with a slow-close hinge so the lid does not slam on fingers. This setup costs roughly 60 to 160 dollars, and prices vary with size and material. Practical tip: put the least-used supplies in the bench, since digging under a cushion every day gets old fast.
- Confirm the bench is rated for sitting
- Use small bins inside the bench
- Store least-used supplies in it
Shop This Look
| BENCH | CUSHION | BINS |
|---|---|---|
| Storage bench with hinged lid | Bench seat cushion | Small fabric storage cubes |
| Shop → | Shop → | Shop → |
11. Labeled Drawer Dividers
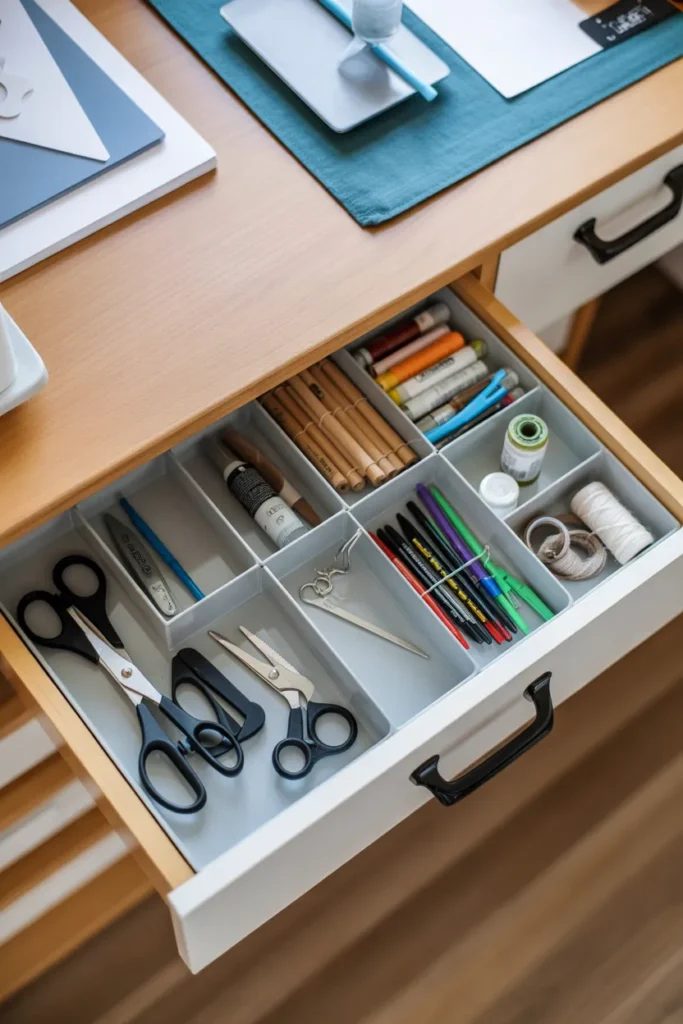
Drawers without dividers become junk drawers within a month, no matter how organized you start. Adjustable dividers split each drawer into zones for beads, needles, adhesives, and findings, and labels on each zone keep the system working after the novelty wears off. This is the cheapest upgrade on this list with one of the biggest payoffs.
Measure the drawers: dividers come in standard depths, so measure drawer interior height before ordering, because too-tall dividers stop the drawer from closing. Go adjustable: spring-loaded or expandable dividers fit odd drawer sizes and survive when you rearrange.
Shallow trays inside deep drawers create a second layer for small items. Label each section with what belongs there, not just a category name. This setup costs roughly 15 to 45 dollars, and prices vary with divider count. Honest warning: dividers only work if you put things back, so keep the system simple enough that cleanup takes under five minutes.
- Measure drawer interior height first
- Use adjustable dividers for odd sizes
- Label each zone with specific contents
Shop This Look
| DIVIDERS | TRAYS | LABELS |
|---|---|---|
| Adjustable drawer dividers | Shallow drawer organizer trays | Mini chalkboard labels |
| Shop → | Shop → | Shop → |
12. Wall-Mounted Ribbon Holder
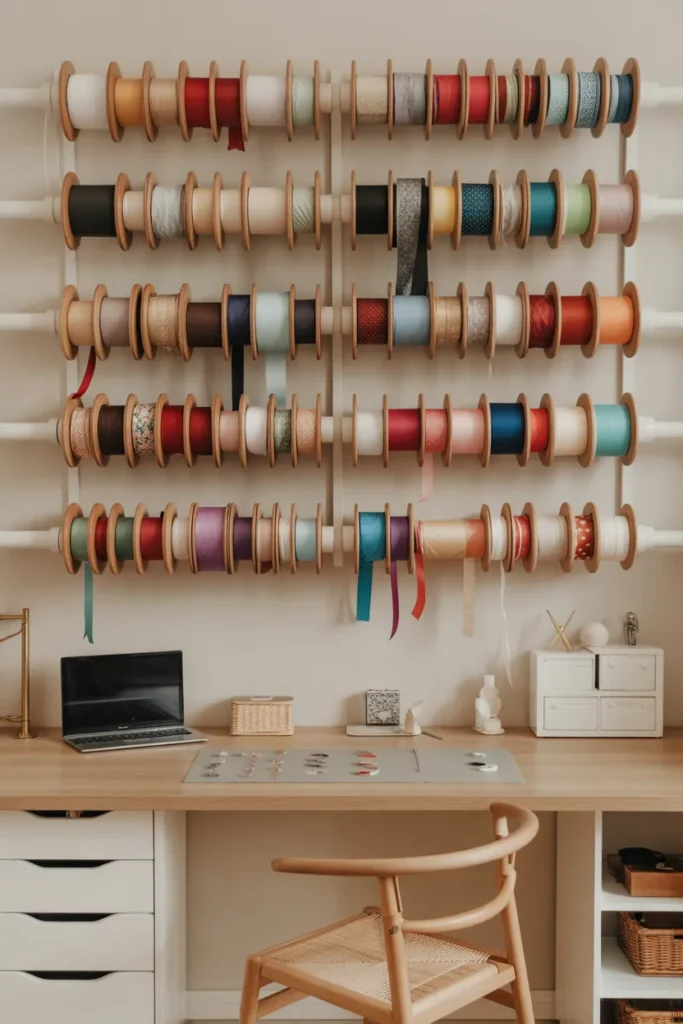
Ribbon spools are chaos in a drawer and perfect on a wall-mounted dowel rack. A simple holder with horizontal dowels lets you pull and cut ribbon without removing the spool, which saves the tangled mess that happens every other way. Mount it near your wrapping or finishing station.
Space the dowels: leave enough vertical gap between dowels for fat spools, because cramming them tight means you cannot get a full spool on or off. Add a cutting edge: a serrated strip or a mounted pair of scissors at the end of the rack makes one-handed cutting easy.
A three-dowel rack holds a solid collection, and you can add more racks as the stash grows. Wooden dowel racks look nicer than wire ones in a styled shed. This setup costs roughly 20 to 50 dollars, and prices vary with dowel count and finish. Practical tip: sort spools by color on the dowels, since a rainbow order makes it much faster to grab the right ribbon mid-project.
- Leave room for fat spools between dowels
- Add a serrated cutting edge at one end
- Sort spools by color for fast grabbing
Shop This Look
| RACK | DOWELS | RIBBON |
|---|---|---|
| Wall mount ribbon holder | Wooden dowel rods pack | Satin ribbon spools set |
| Shop → | Shop → | Shop → |
13. Slim Bookcase for Paper Storage
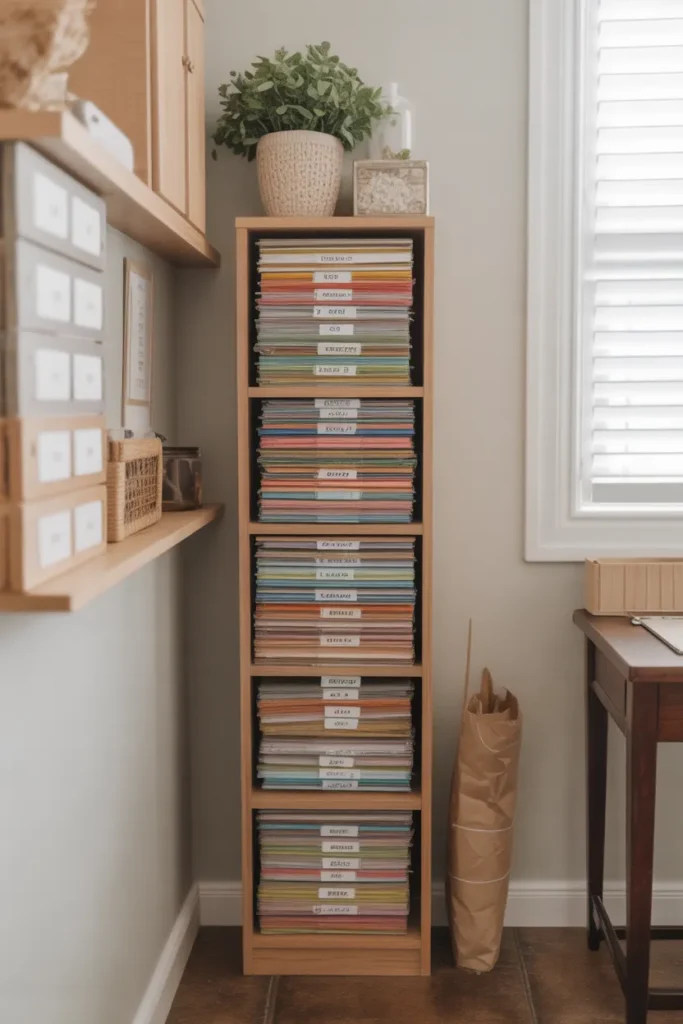
Paper crafters know the problem: 12 by 12 inch paper stacks need a home that is deep enough but not a space hog. A slim bookcase, about 10 to 12 inches deep, holds paper pads upright like books along a narrow wall. Upright storage also stops the bottom sheets from curling under the weight of the stack.
Check the depth: measure your largest paper size and add an inch, because a bookcase that is too shallow leaves paper edges sticking out to catch and bend. Sort by type: keep cardstock, patterned paper, and specialty sheets in separate sections so you are not flipping through everything for one sheet.
Vertical file organizers inside each shelf keep paper categories tidy. Magazine holders also work well for paper pads. This setup costs roughly 40 to 110 dollars, and prices vary with bookcase height. Honest warning: paper is heavy in bulk, so anchor a tall slim bookcase to the wall, because a tipping bookcase full of paper is genuinely dangerous.
- Measure largest paper size plus one inch
- Sort cardstock and patterned paper separately
- Anchor tall bookcases to the wall
Shop This Look
| BOOKCASE | FILES | PAPER |
|---|---|---|
| Slim narrow bookcase shelf | Vertical file organizers | 12×12 scrapbook paper pad |
| Shop → | Shop → | Shop → |
14. Over-the-Door Organizer
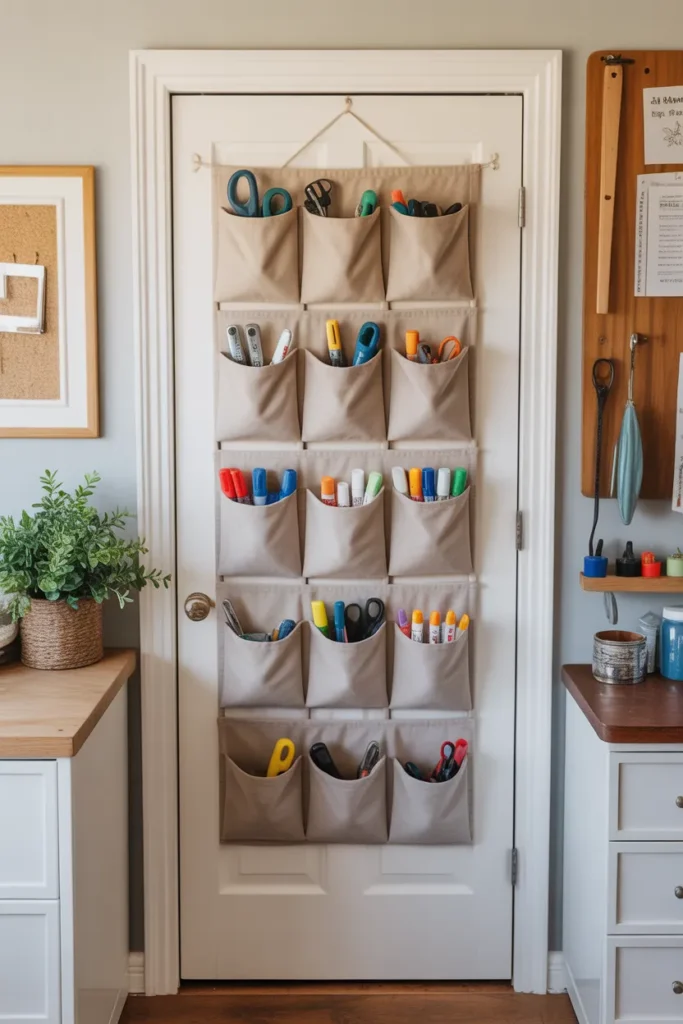
The back of the shed door is free storage most people never use. An over-the-door organizer with clear pockets holds small supplies, tools, and works-in-progress without touching a single wall or shelf. It is also renter-friendly and installs in minutes with no drilling.
Check door clearance: make sure the organizer hooks do not stop the door from closing or scrape the frame, because shed doors often fit tighter than house doors. Distribute the weight: put heavy items in the lower pockets, since a top-heavy door swings hard and strains its hinges.
Clear shoe organizers work perfectly for this, the pockets are the right size for glue sticks, paint tubes, and small tools. Label the top row of pockets for the things you reach for most. This setup costs roughly 12 to 30 dollars, and prices vary with pocket count. Practical tip: in a shed that gets hot, keep adhesives and paints out of the door pockets, since heat shortens their shelf life.
- Check that the door still closes fully
- Put heavy items in lower pockets
- Keep heat-sensitive supplies elsewhere
Shop This Look
| ORGANIZER | HOOKS | LABELS |
|---|---|---|
| Over door clear pocket organizer | Over door hooks heavy duty | Small adhesive labels |
| Shop → | Shop → | Shop → |
15. Compact Cutting Station
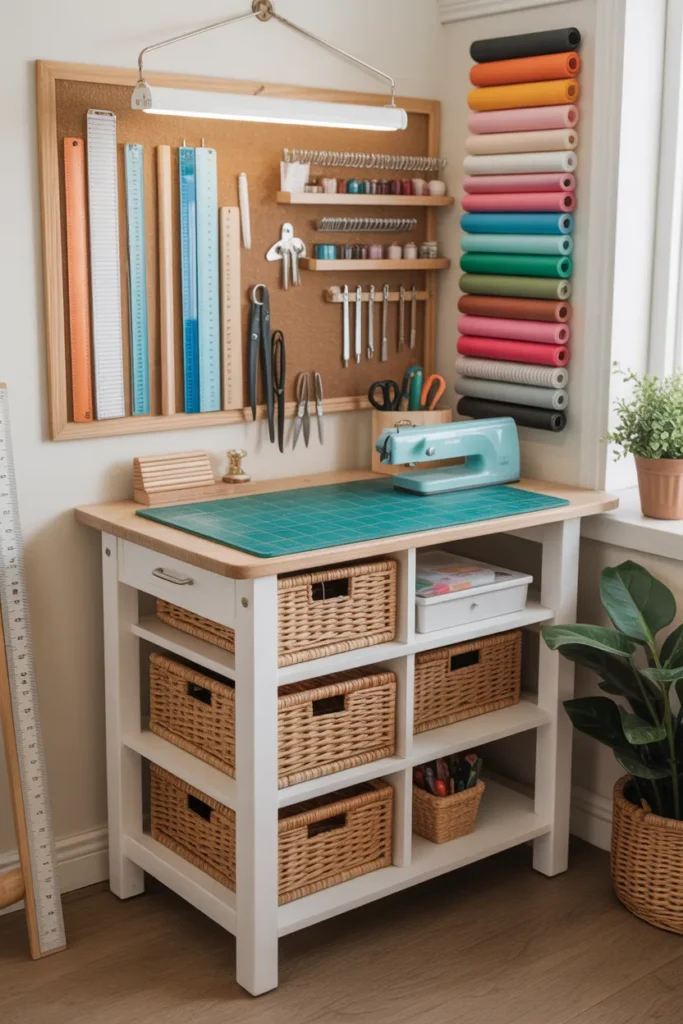
Cutting needs a dedicated flat zone, and a compact station keeps it from taking over the whole shed. A small table or a fold-down shelf with a large cutting mat, a good ruler, and a rotary cutter gives you a permanent spot for measuring and slicing. Keeping the cutter in one place also means you stop losing it.
Protect the surface: always cut on a self-healing mat, because a rotary cutter will slice through a tabletop in one careless pass. Store blades safely: keep spare rotary blades in a locked box or high shelf, since they are far sharper than they look.
A gridded mat in the largest size your table fits makes measuring faster and more accurate. Add a small waste bin beside the station for scraps. This setup costs roughly 35 to 90 dollars, and prices vary with mat size. Honest warning: rotary cutters and kids do not mix, so retract the blade after every single cut until it becomes a habit.
- Always cut on a self-healing mat
- Store spare blades locked away
- Retract the blade after every cut
Shop This Look
| MAT | CUTTER | RULER |
|---|---|---|
| Large self-healing cutting mat | Rotary cutter with blades | Quilting ruler 6×24 inch |
| Shop → | Shop → | Shop → |
16. Minimalist Craft Supply Display
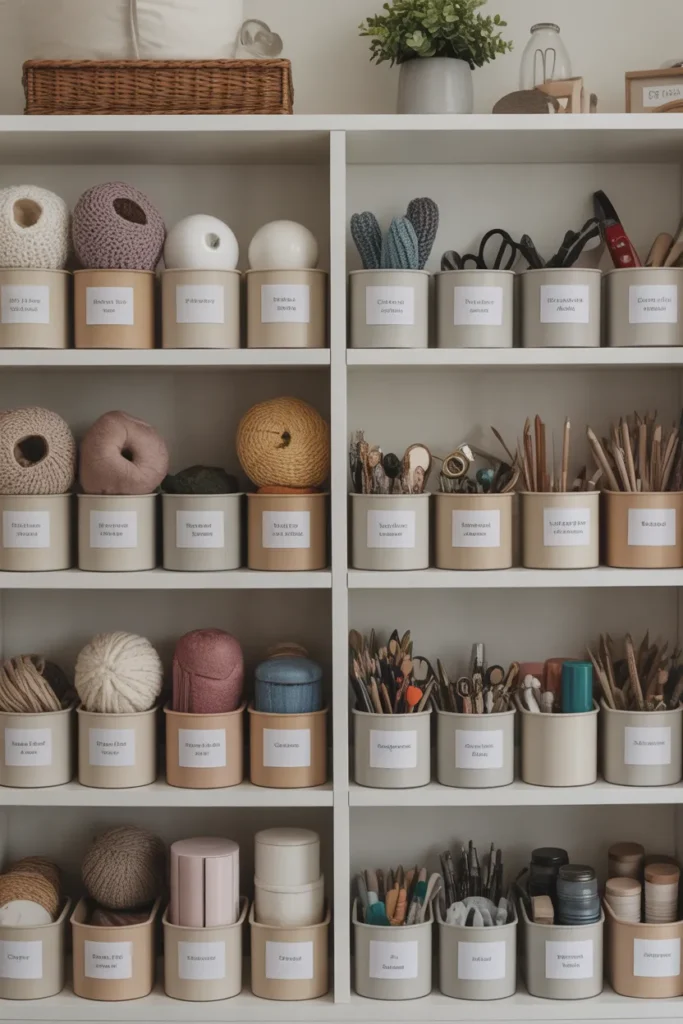
A minimalist display keeps only the prettiest and most-used supplies visible, in matching containers on one open shelf. Everything else lives behind closed doors. This approach suits small sheds because visual clutter makes a tiny room feel even smaller, and a single calm shelf sets the tone for the whole space.
Edit hard: choose ten to fifteen items for the display shelf and box up the rest, because the look only works when every item earns its spot. Match the containers: uniform jars, tins, or boxes in one material make different supplies look like a set.
Glass jars show off buttons, thread, and washi tape beautifully. A small plant or a framed print keeps the shelf from feeling like a store display. This setup costs roughly 25 to 70 dollars, and prices vary with container choice. Practical tip: dust the open shelf monthly, since displayed supplies collect dust fast in a shed, and dusty craft supplies are unpleasant to handle.
- Limit the display to 10 to 15 items
- Use matching containers in one material
- Dust the open shelf monthly
Shop This Look
| JARS | TINS | SHELF |
|---|---|---|
| Glass storage jars with lids | Metal storage tins set | Small floating wall shelf |
| Shop → | Shop → | Shop → |
How to Start
Start by emptying the shed and cleaning it, because you cannot organize around clutter you have not sorted. Pull everything out, sweep the floor, and check for leaks, drafts, and wasp nests. Sort what stays into three piles: daily tools, stored supplies, and things that do not belong in a craft room at all.
Next, plan your zones on paper before buying anything. Mark where the work table goes, where the tall storage goes, and where the door swings. In a small shed, the door swing decides everything, so measure it and tape the layout on the floor with painter’s tape to see if it actually works.
Your first shopping trip can stay under 60 dollars and still make a real dent. Buy a pack of clear bins, a label maker or label pack, and a basic pegboard hook kit. With just those three things, you can sort every small supply you own into labeled homes in one afternoon.
- One pack of clear stackable storage bins
- One label maker or adhesive label pack
- One pegboard hook assortment kit
Shop This Look
| BINS | LABELS | HOOKS |
|---|---|---|
| Clear stackable storage bins | Adhesive storage labels pack | Pegboard hooks assortment kit |
| Shop → | Shop → | Shop → |
Common Mistakes
- Skipping the plan: buying storage before mapping zones fills a small shed with furniture that does not fit together.
- Storing paper up high: heat rises in a shed, and high shelves near the roof cook paper and warp canvases over summer.
- Ignoring moisture: sheds sweat with temperature swings, so unsealed bins and open paper storage invite mold and warping.
- Blocking the door swing: tall furniture near the door turns every entry into a squeeze, so tape the swing on the floor first.
- Buying before measuring: shed interiors run smaller than they look, and returns on big furniture are a hassle.
- Forgetting lighting: one overhead bulb is not enough for detail work, so plan task lighting at the table from the start.
- Overfilling every surface: a packed room kills the urge to craft, so leave one clear surface as your working landing zone.
Frequently Asked Questions
How much does it cost to set up a she shed craft room?
A basic organized setup with shelves, bins, and a folding table costs roughly 150 to 350 dollars. A fuller room with cabinets, a pegboard wall, and task lighting lands around 400 to 800 dollars. Prices vary by brand and material, so start with the basics and add pieces as you learn how you actually use the space.
How do I keep craft supplies safe from shed moisture?
Use latching bins instead of open storage for anything moisture-sensitive, and leave small air gaps behind cabinets so walls can breathe. A cheap humidity monitor tells you when levels spike. If your shed regularly feels damp, a small dehumidifier or moisture-absorbing tubs protect paper, fabric, and wood far better than any storage trick.
What is the best lighting for a small craft room?
Layer it: one bright overhead light for general use plus a task lamp at the work table for detail work. Daylight-temperature bulbs around 5000K show true colors for fabric and paint matching. If your shed has no wiring, battery LED shop lights and a rechargeable desk lamp cover most needs.
Can a she shed work as a craft room year-round?
Yes, with insulation and a small heat source for winter. Uninsulated sheds swing wildly in temperature, which damages supplies and makes working miserable. Even basic foam-board insulation plus a small space heater extends the crafting season by months. Always follow heater safety rules and never leave one running unattended.
What are some good first projects for a new craft room?
Start with small, giftable projects that use the supplies you already own, so the room earns its keep fast. Handmade gifts are perfect for this: cards, ornaments, and simple sewn items teach you the room’s workflow. For seasonal ideas, try these handmade Christmas gift ideas, which are sized well for a small craft space and make great use of an organized supply wall.
The Finishing Touch
A finished she shed craft room is one where everything has a home and the table is clear at the end of the day. That habit matters more than any single product on this list. Spend the last five minutes of every session putting tools back, and the room stays inviting instead of slowly turning back into a storage shed.
Revisit your zones after a month of real use. You will find that some supplies migrated to the wrong spot and one zone is doing all the work while another sits empty. Adjust the layout to match how you actually craft, not how you imagined you would. The best craft rooms are the ones that get rearranged a few times.
Add one personal touch that has nothing to do with storage. A framed print, a small plant, or a string of warm lights makes the shed feel like your room instead of a workshop. You will spend more time creating in a space that feels good to walk into, and that is the real return on all this organizing.
For more ideas on keeping a craft space tidy and functional, The Crafter’s Closet has a helpful guide to craft room organization hacks and simple storage ideas, with practical tips on bins, shelving, and small-space layouts. Pair their storage ideas with the zones you built here, and your she shed will stay organized for the long run.